How to set-up a Voting Only Event
Harry M
Last Update 6 months ago
Create a New Event
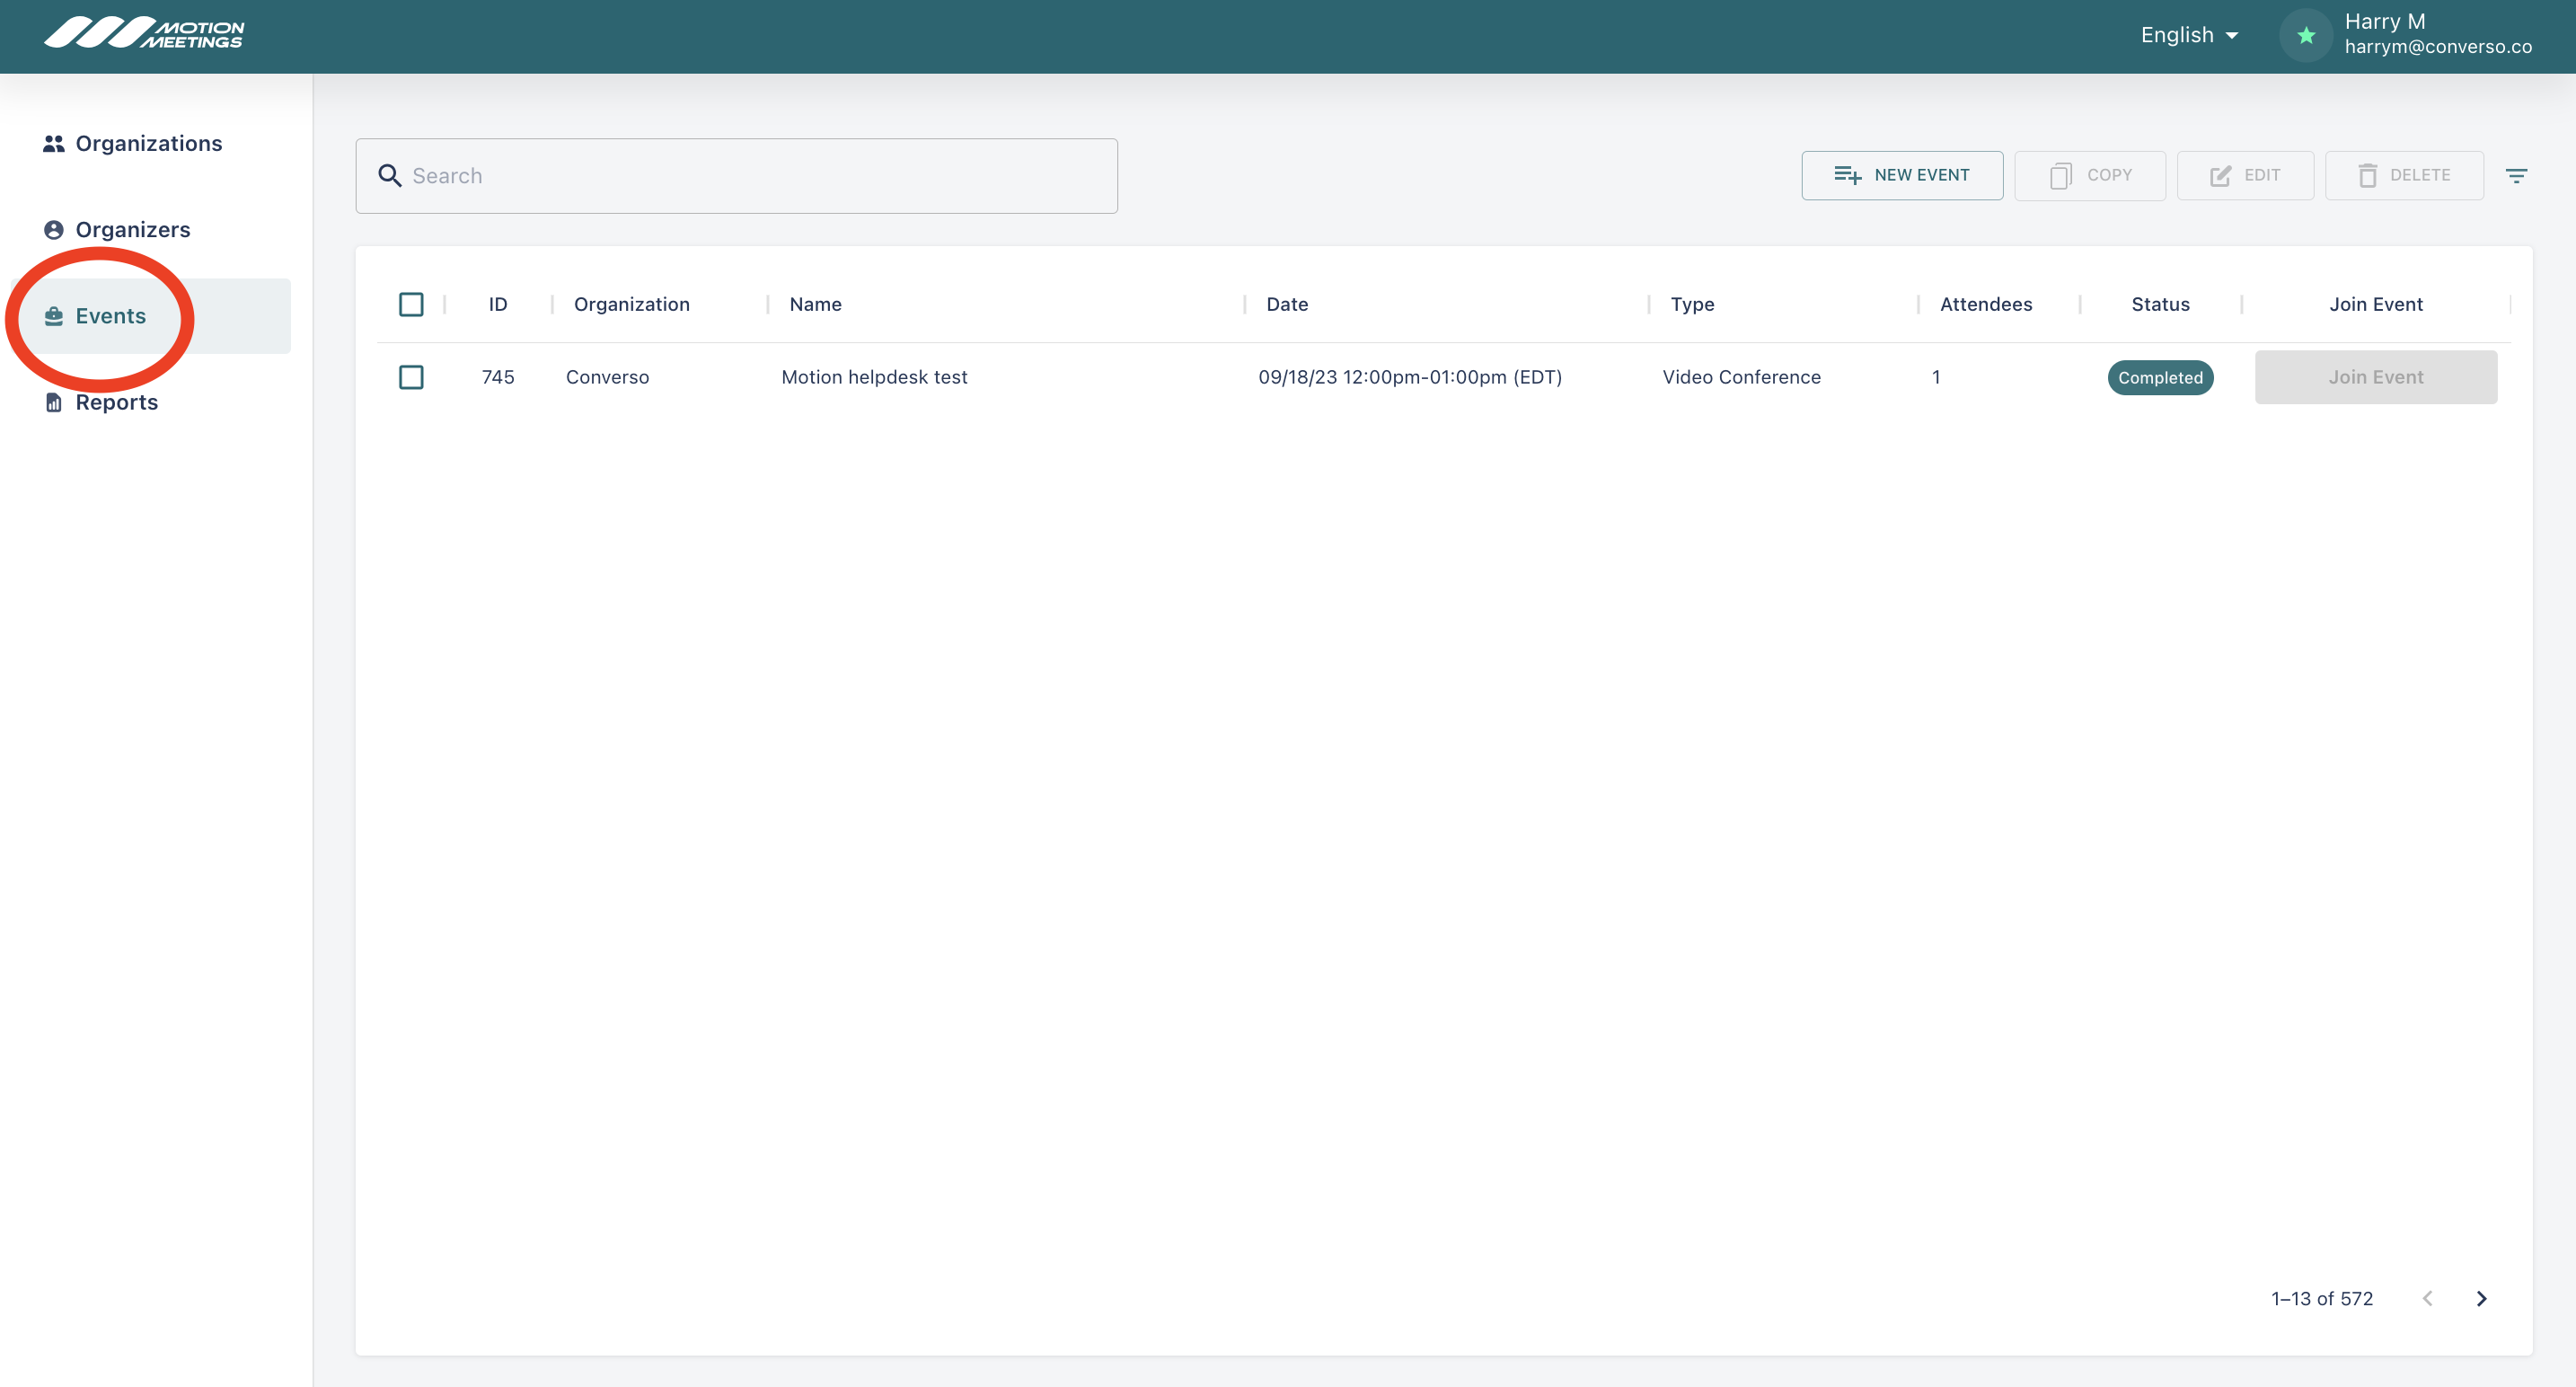
The first step in setting up your event is to go to the Events tab.
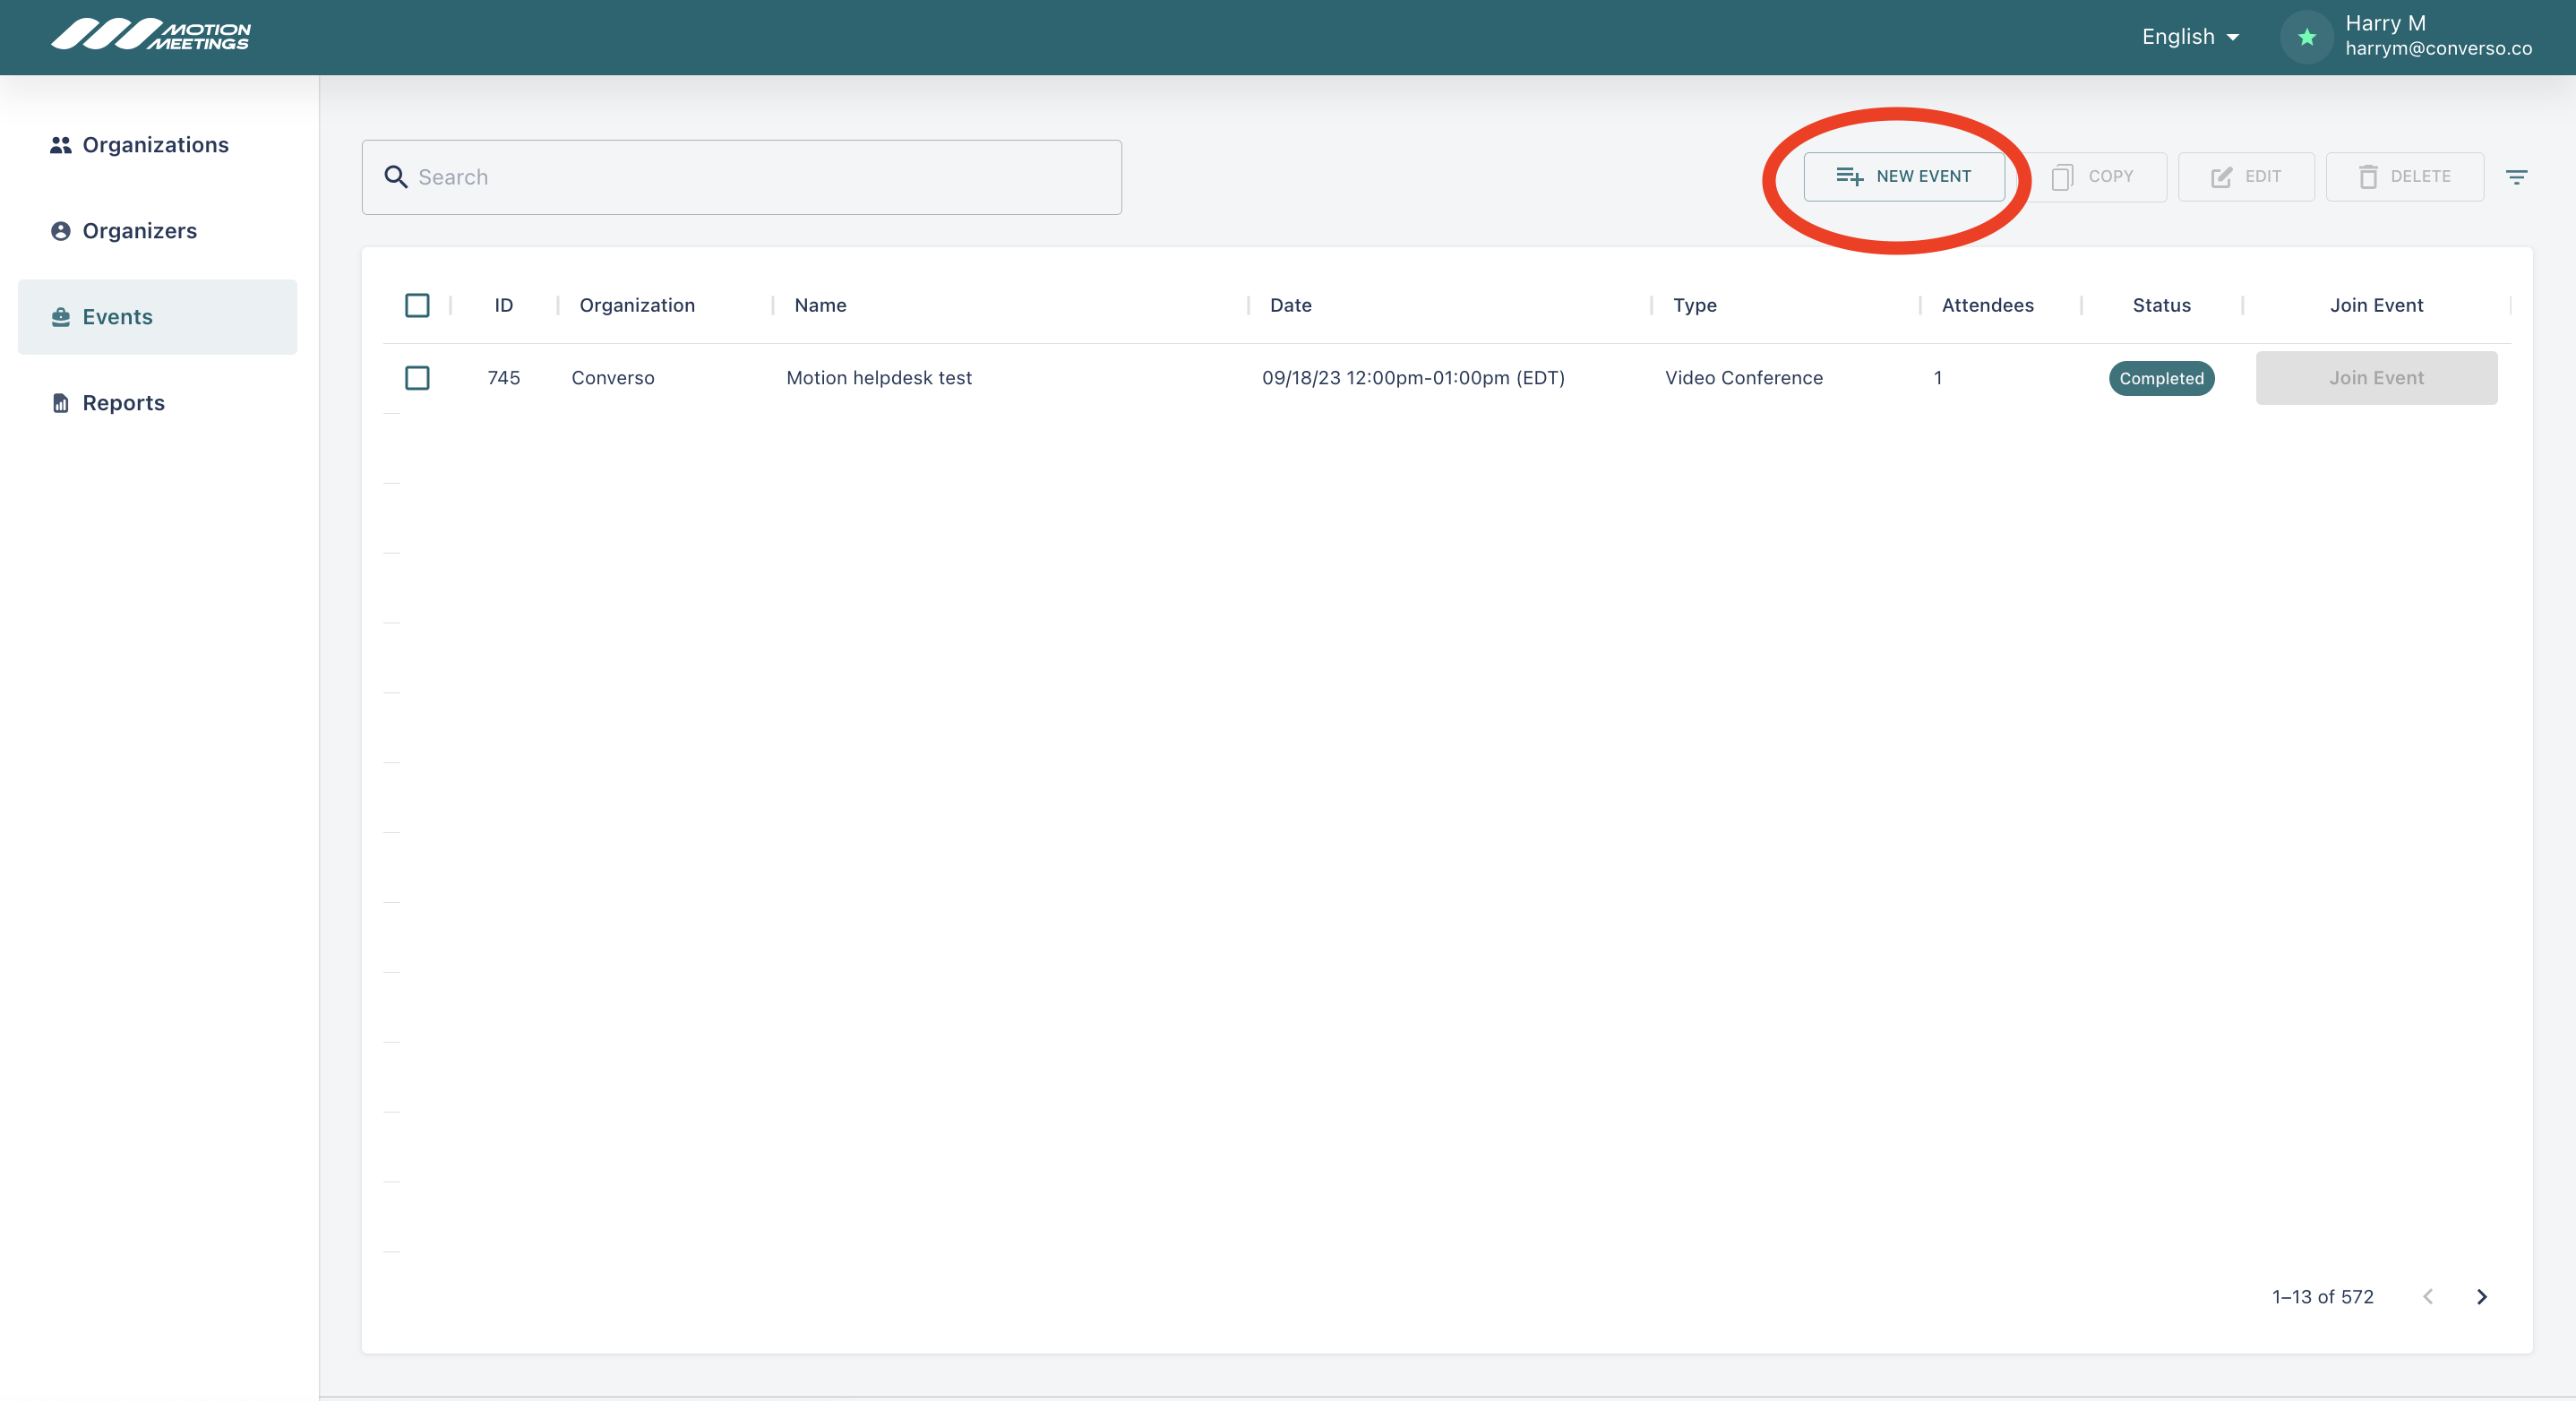
Select "New Event".
Event Info
Here you will name, schedule, and choose your event type.
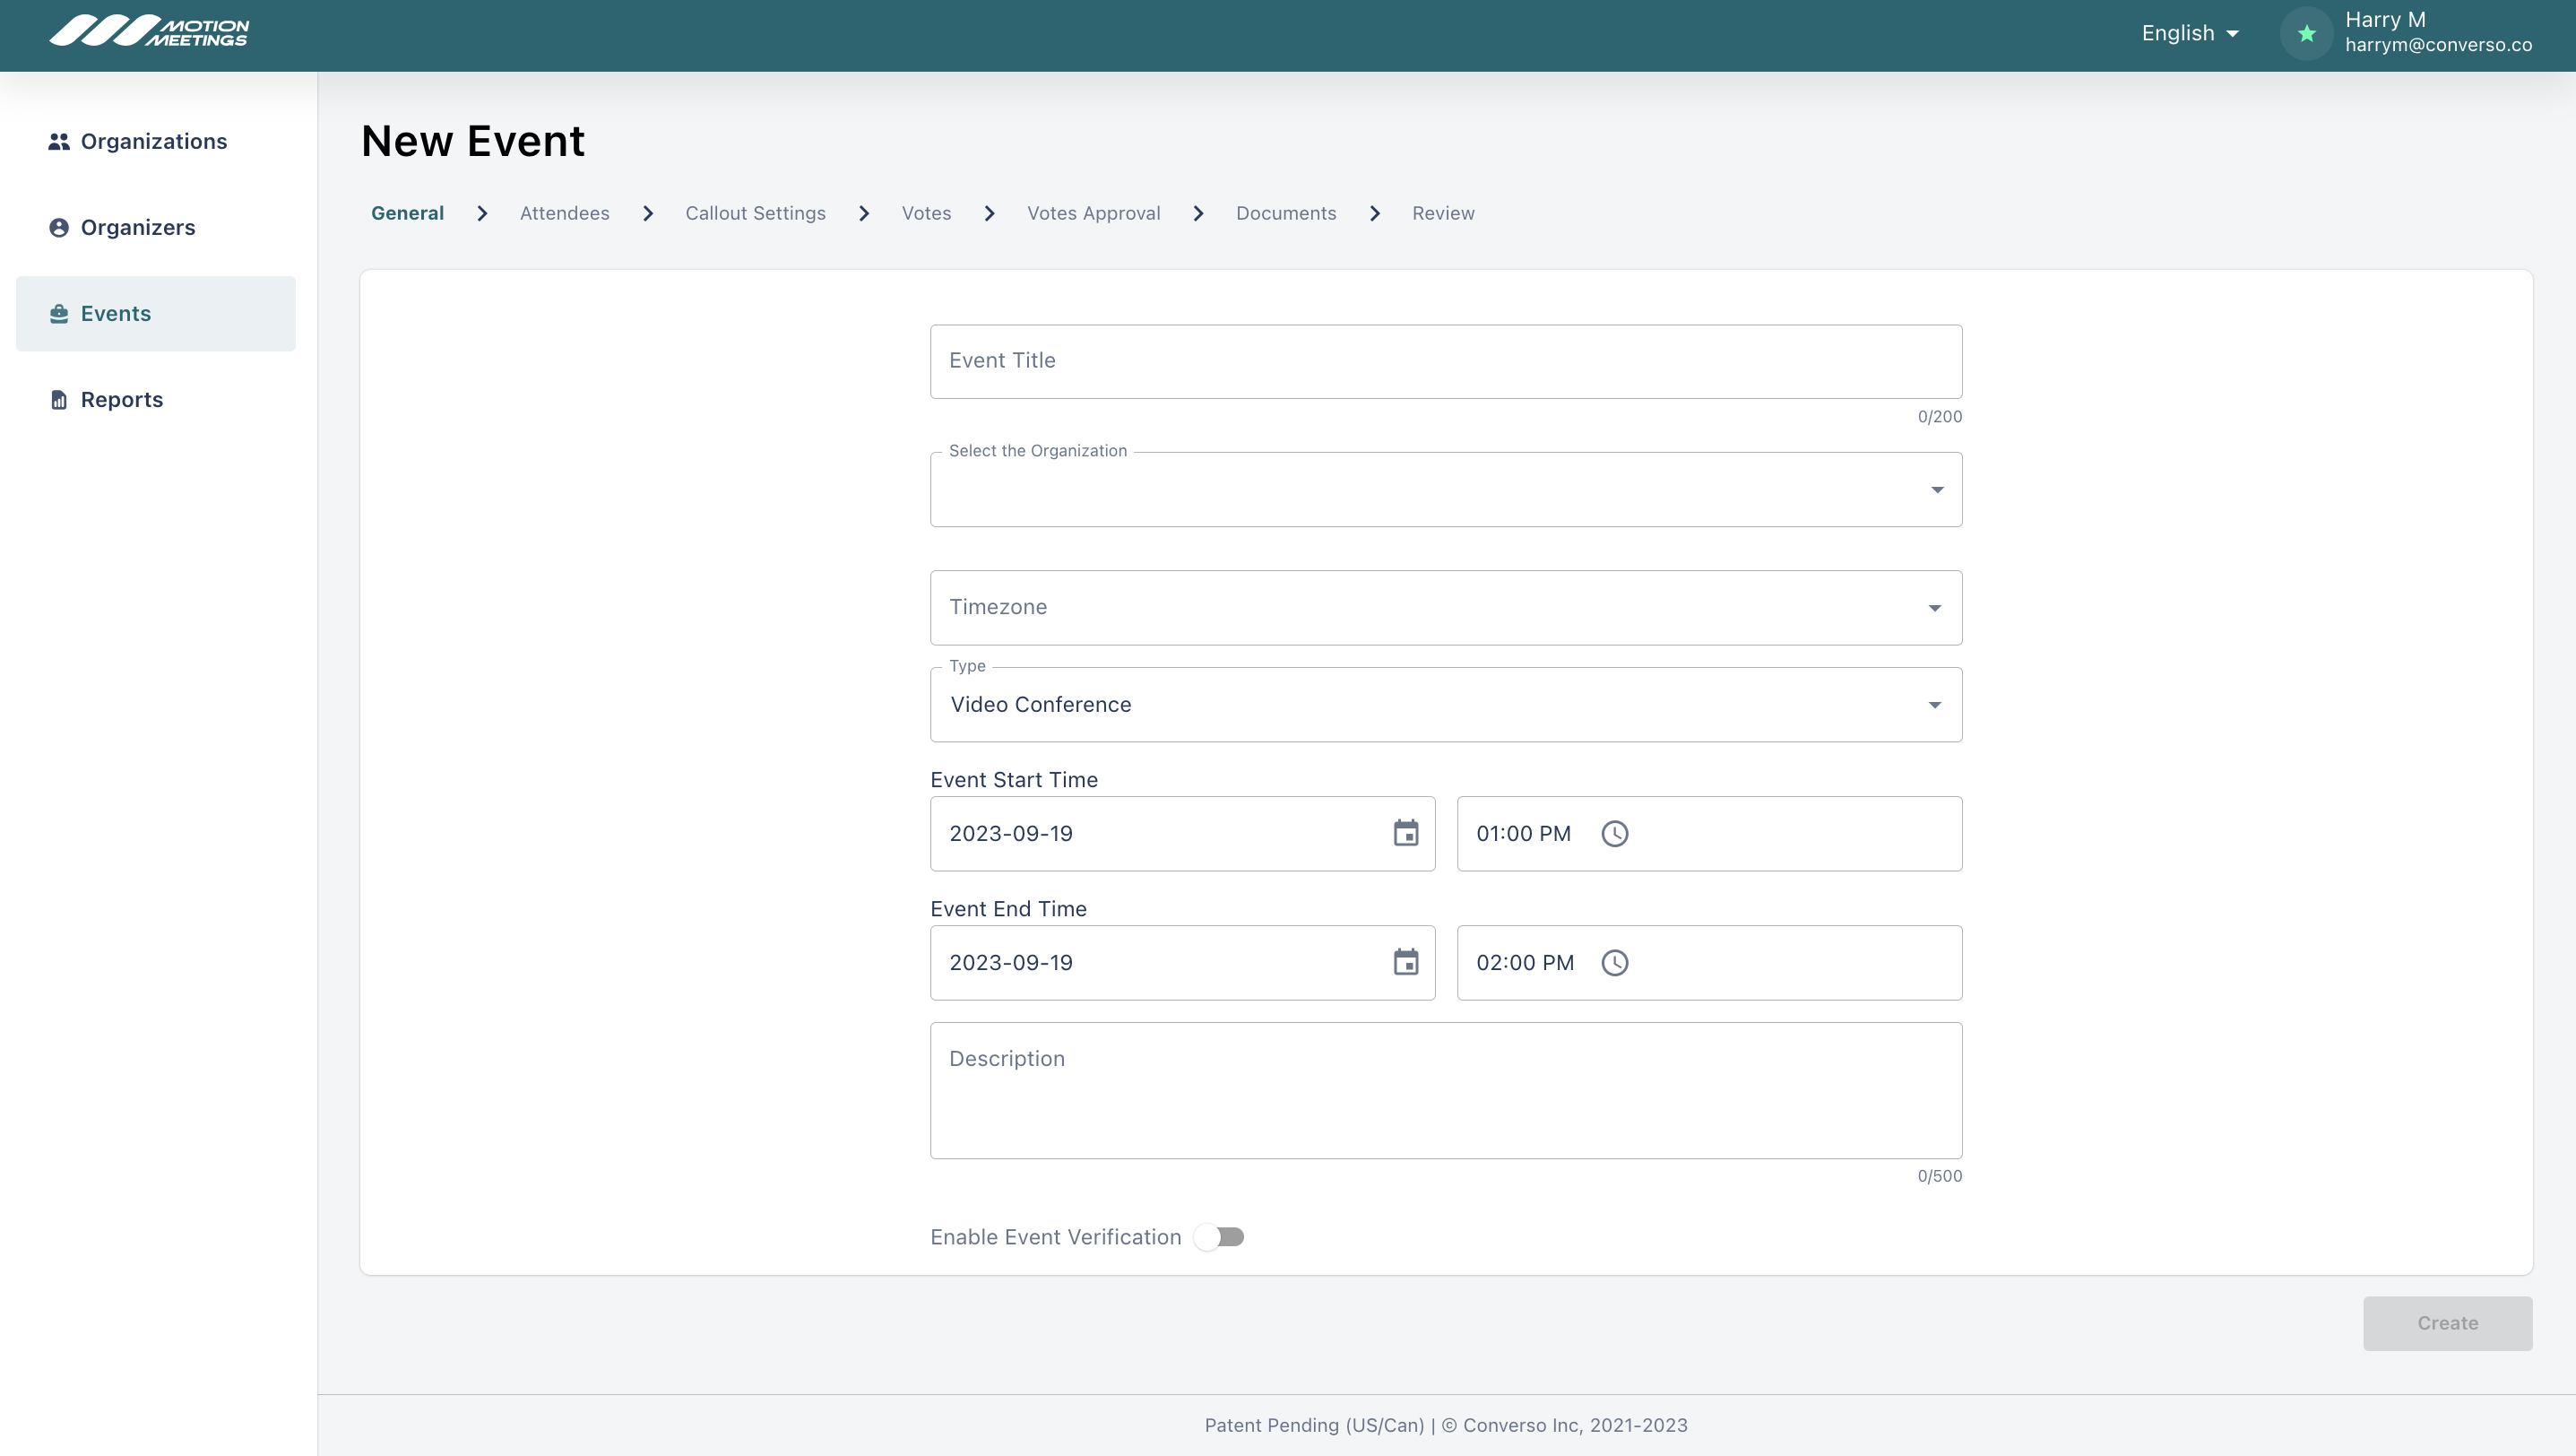
Enter a title for your event and select your organization from the dropdown list. Please ensure you select a title for your vote that your attendees will understand.
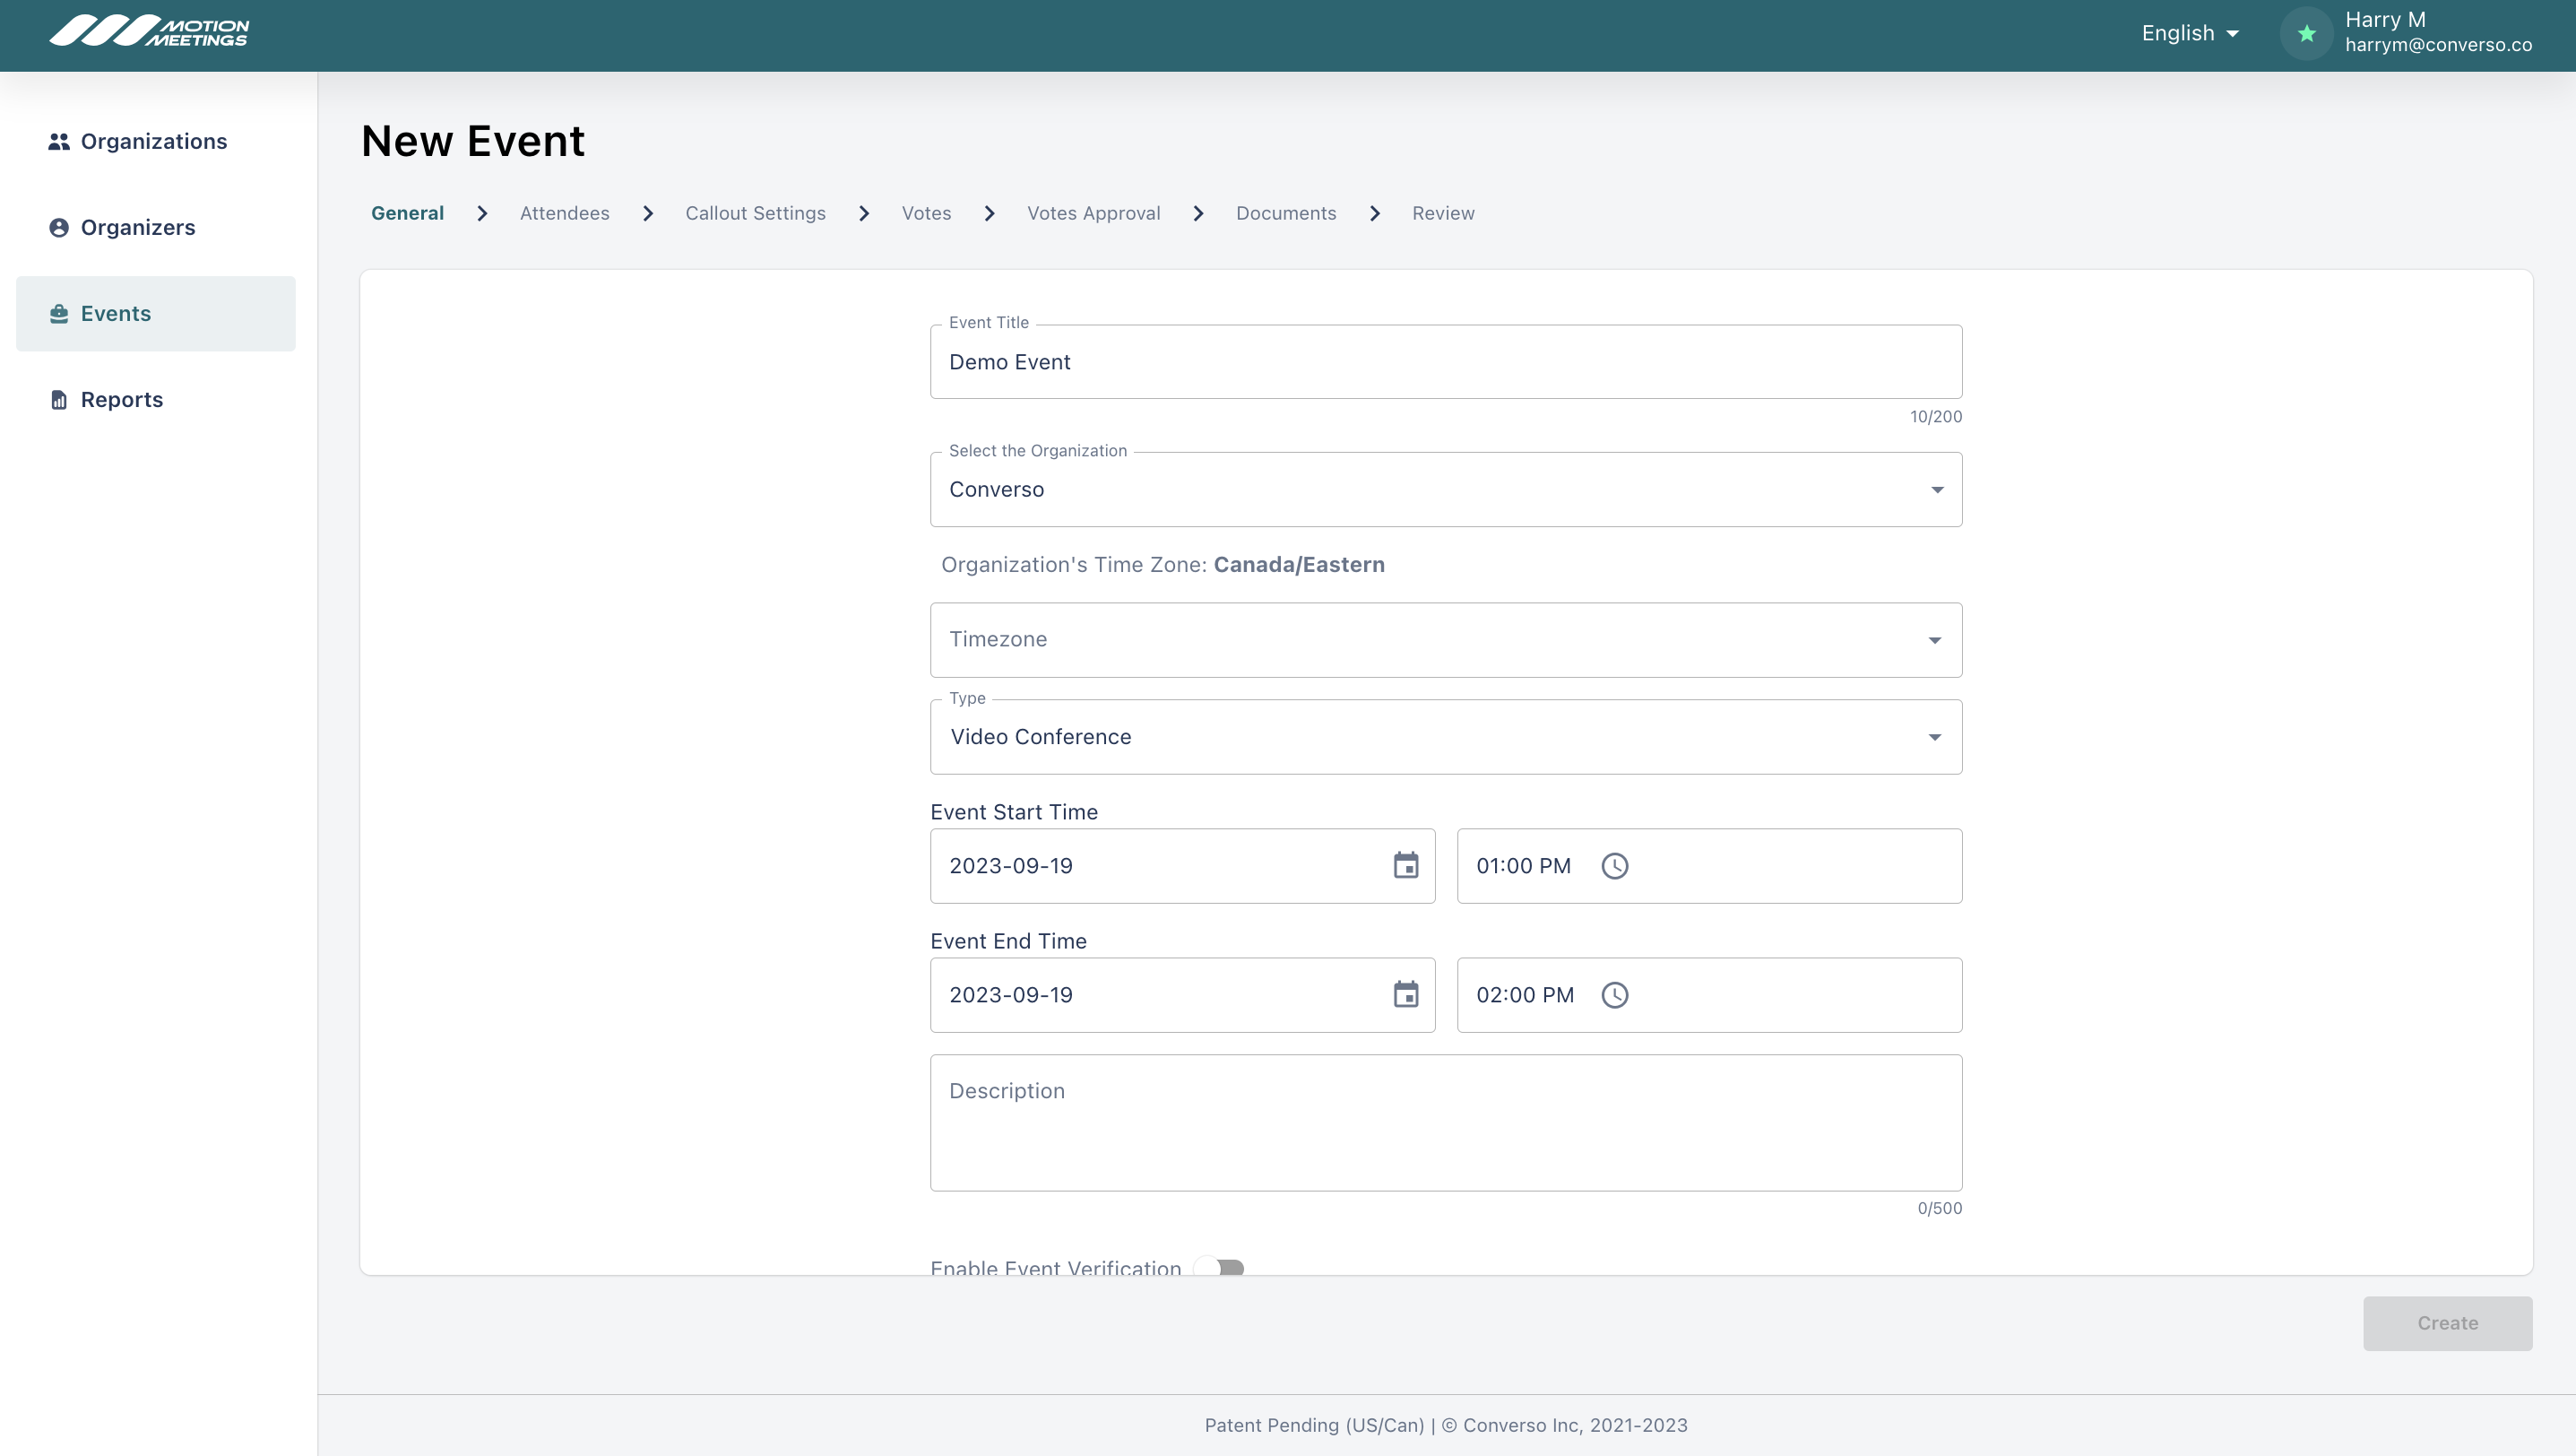
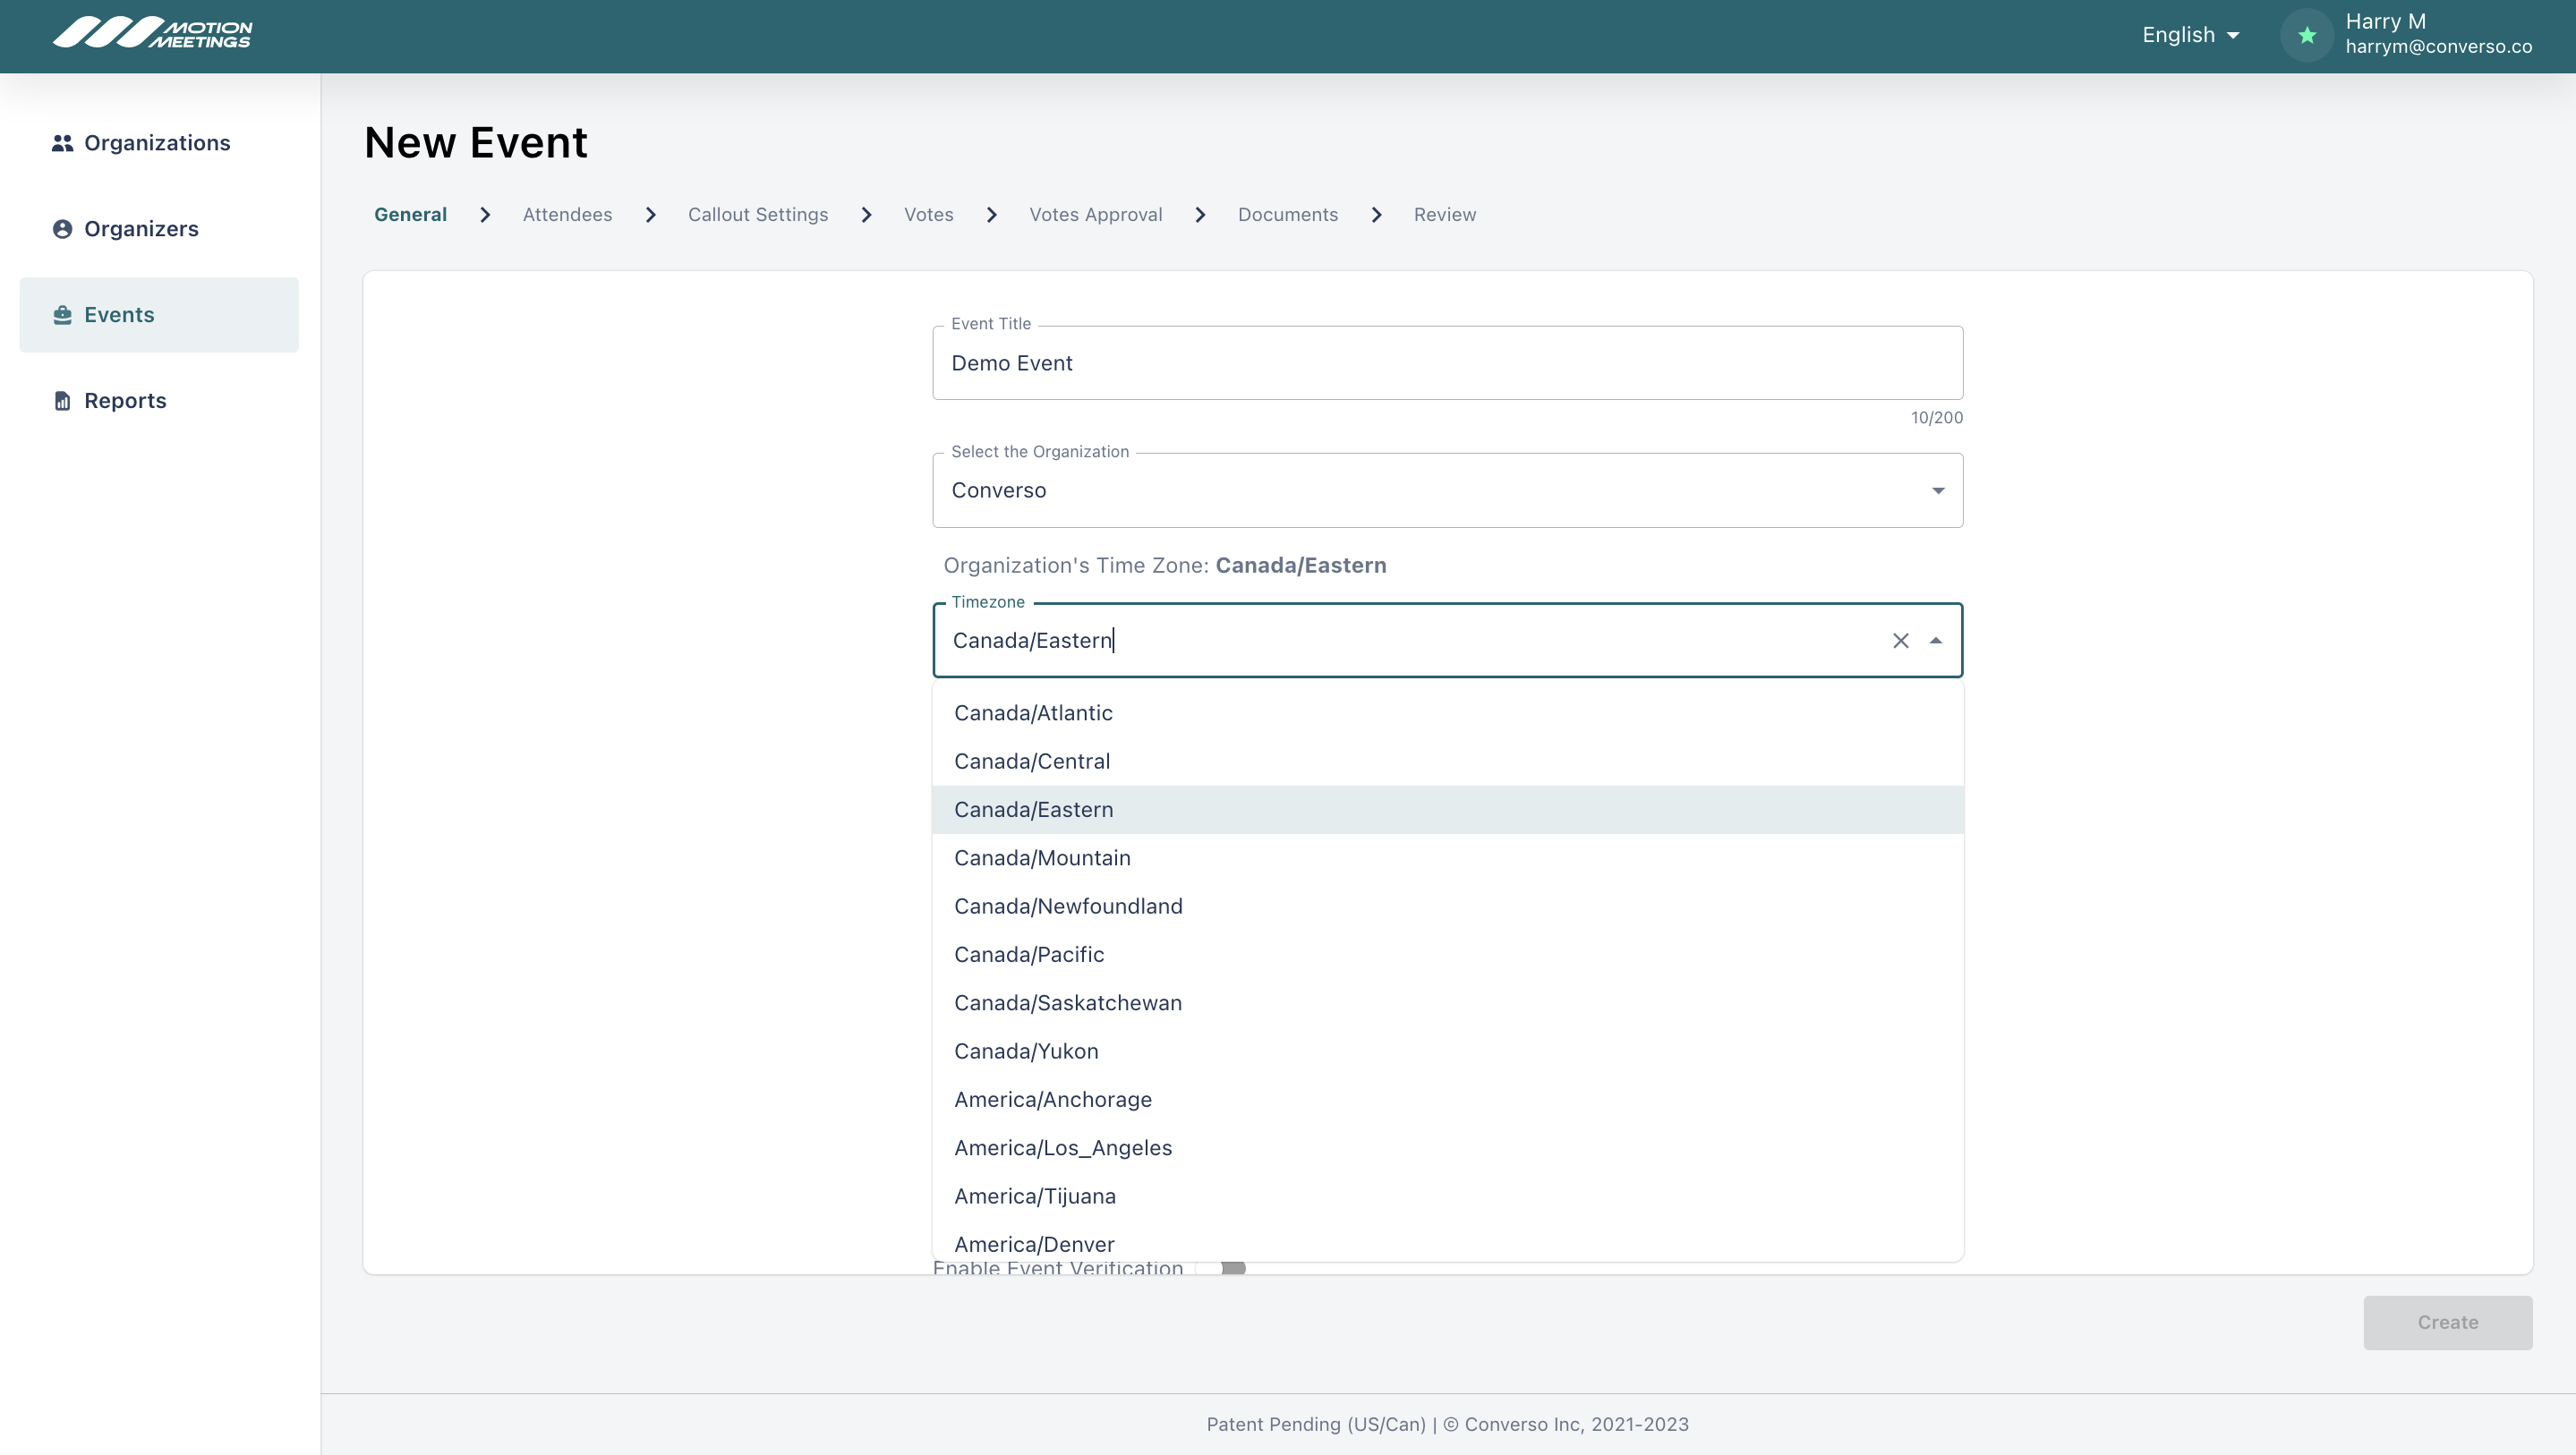
Select your timezone. The vote will be scheduled in this time zone, which may be different from your Organization's timezone. Ensure you have chosen the correct time zone for your vote.
Select the “voting only” event type.

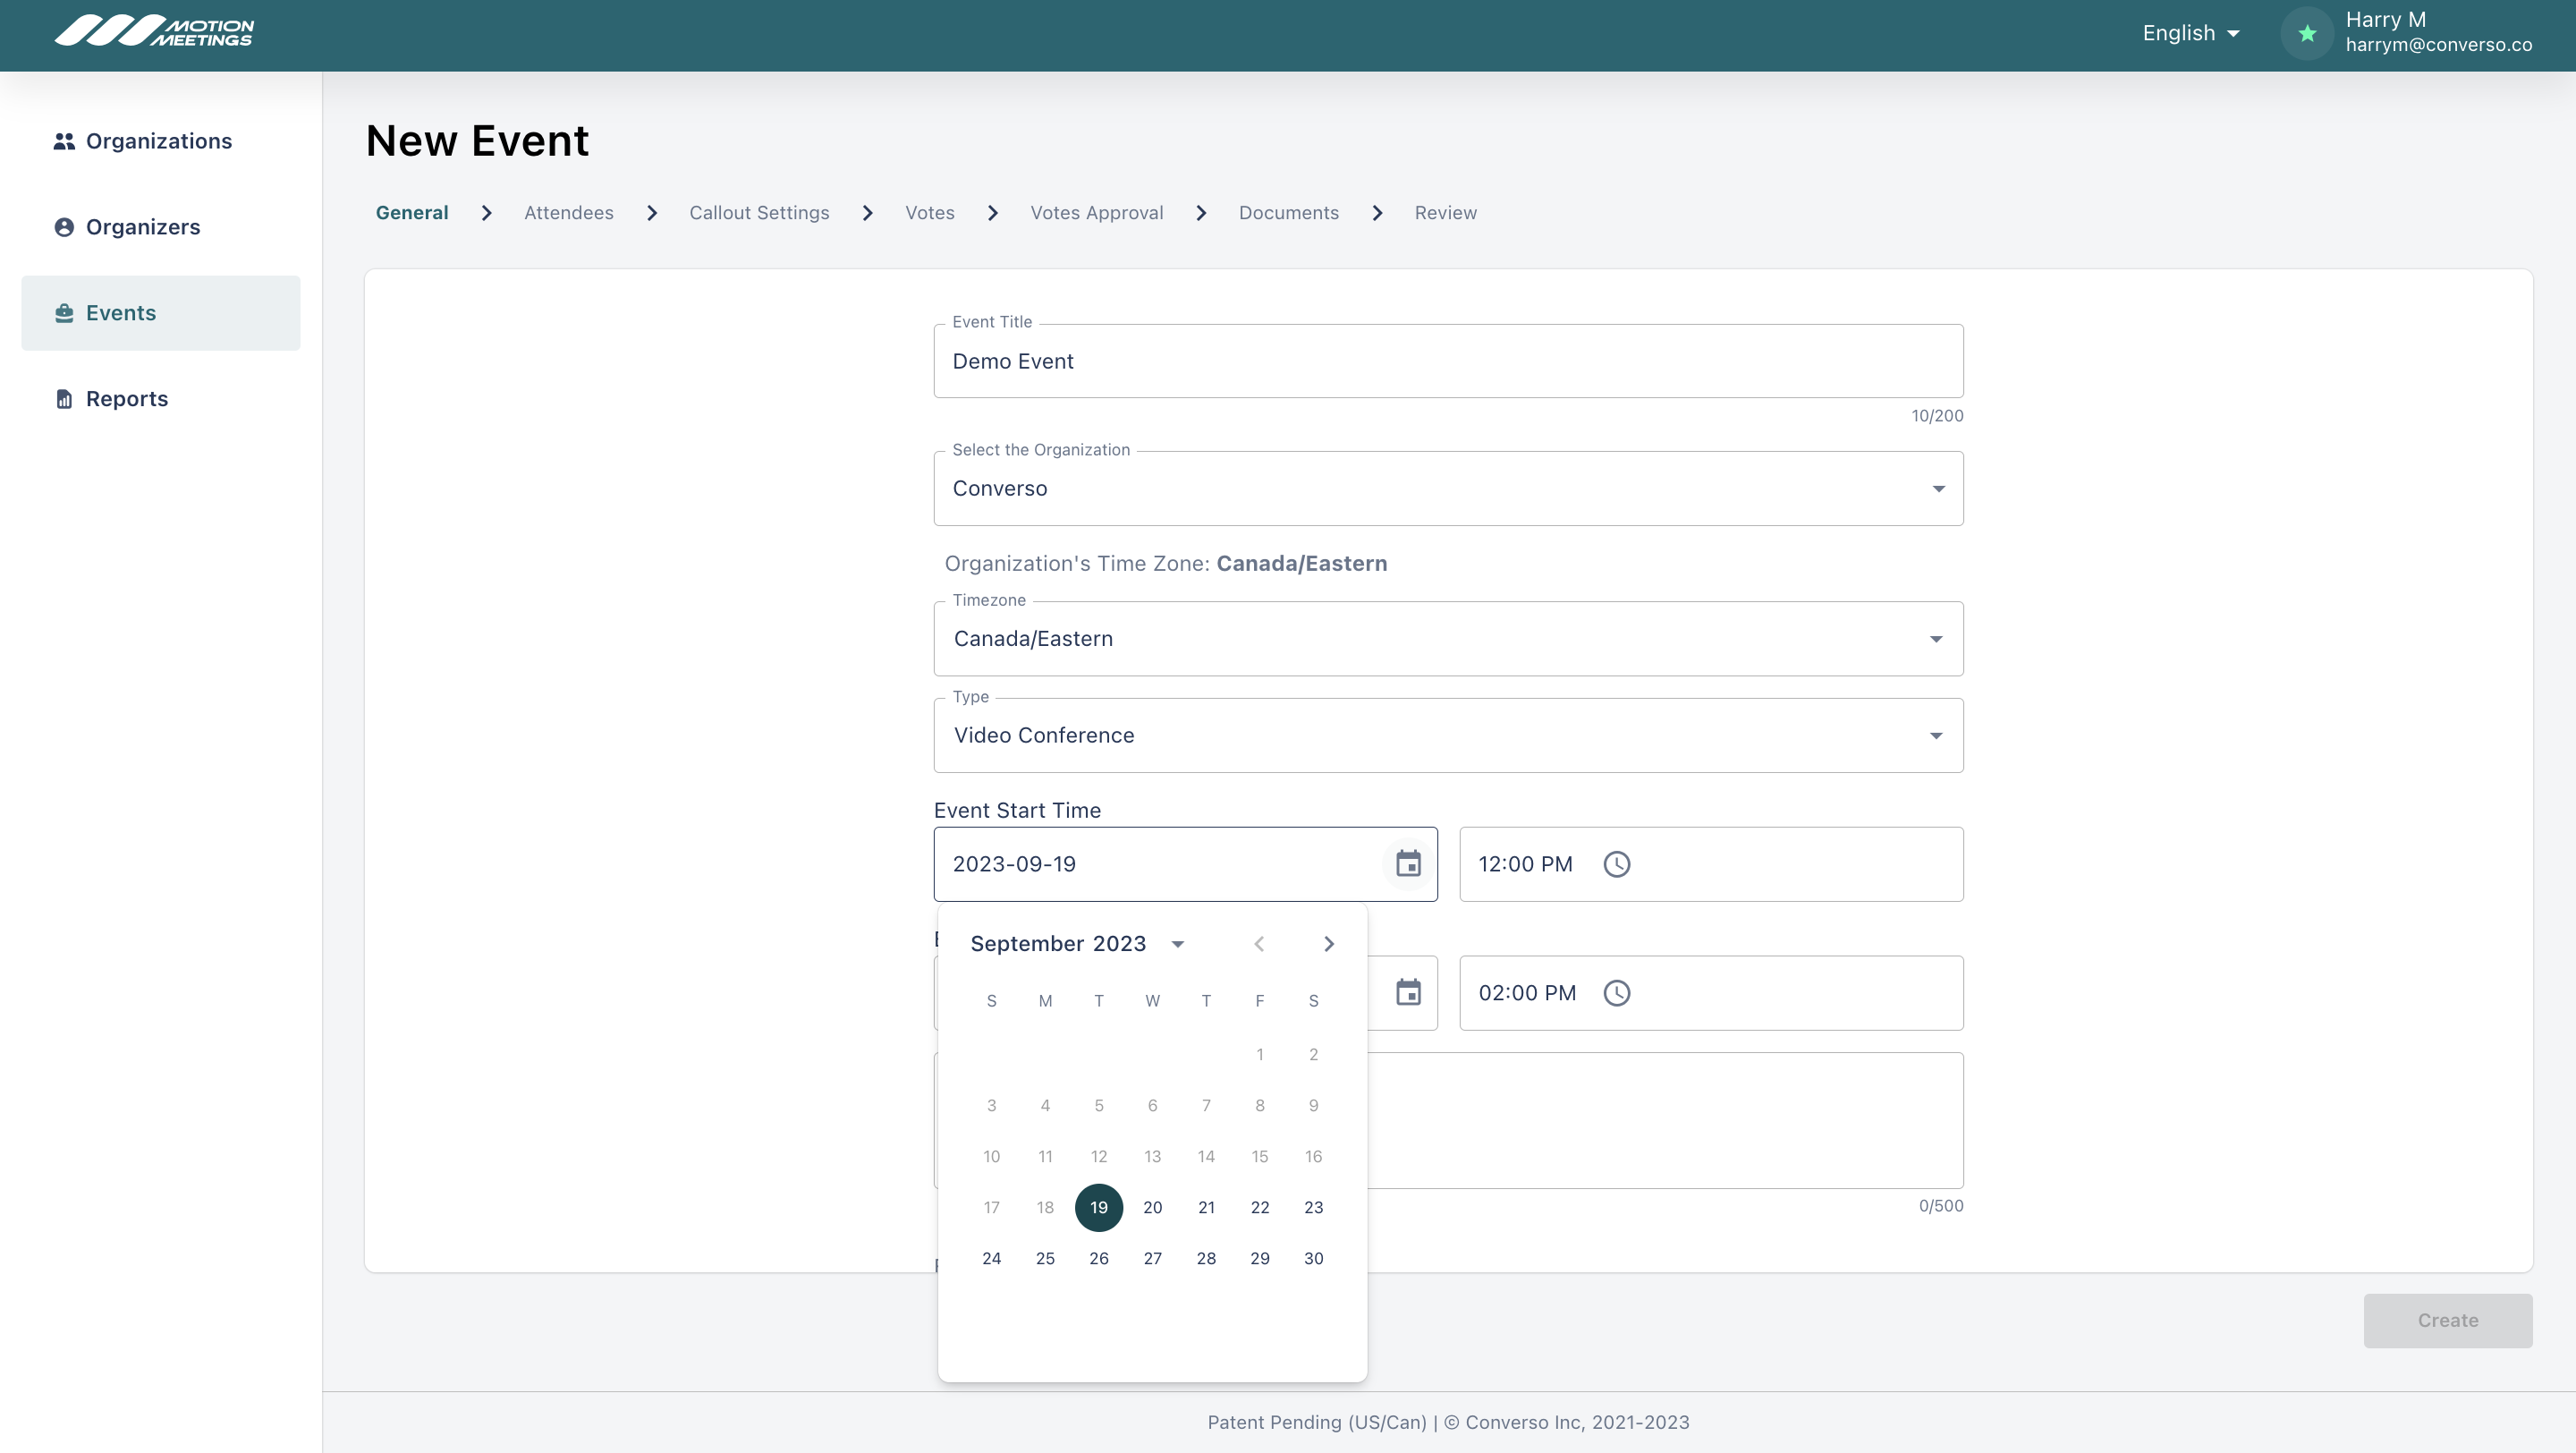
Select your Date and Start Time for your vote. Participants will be allowed to begin voting at the selected time and date.
Note that the start time will be in whichever timezone was selected in the "Select Your Timezone" step.
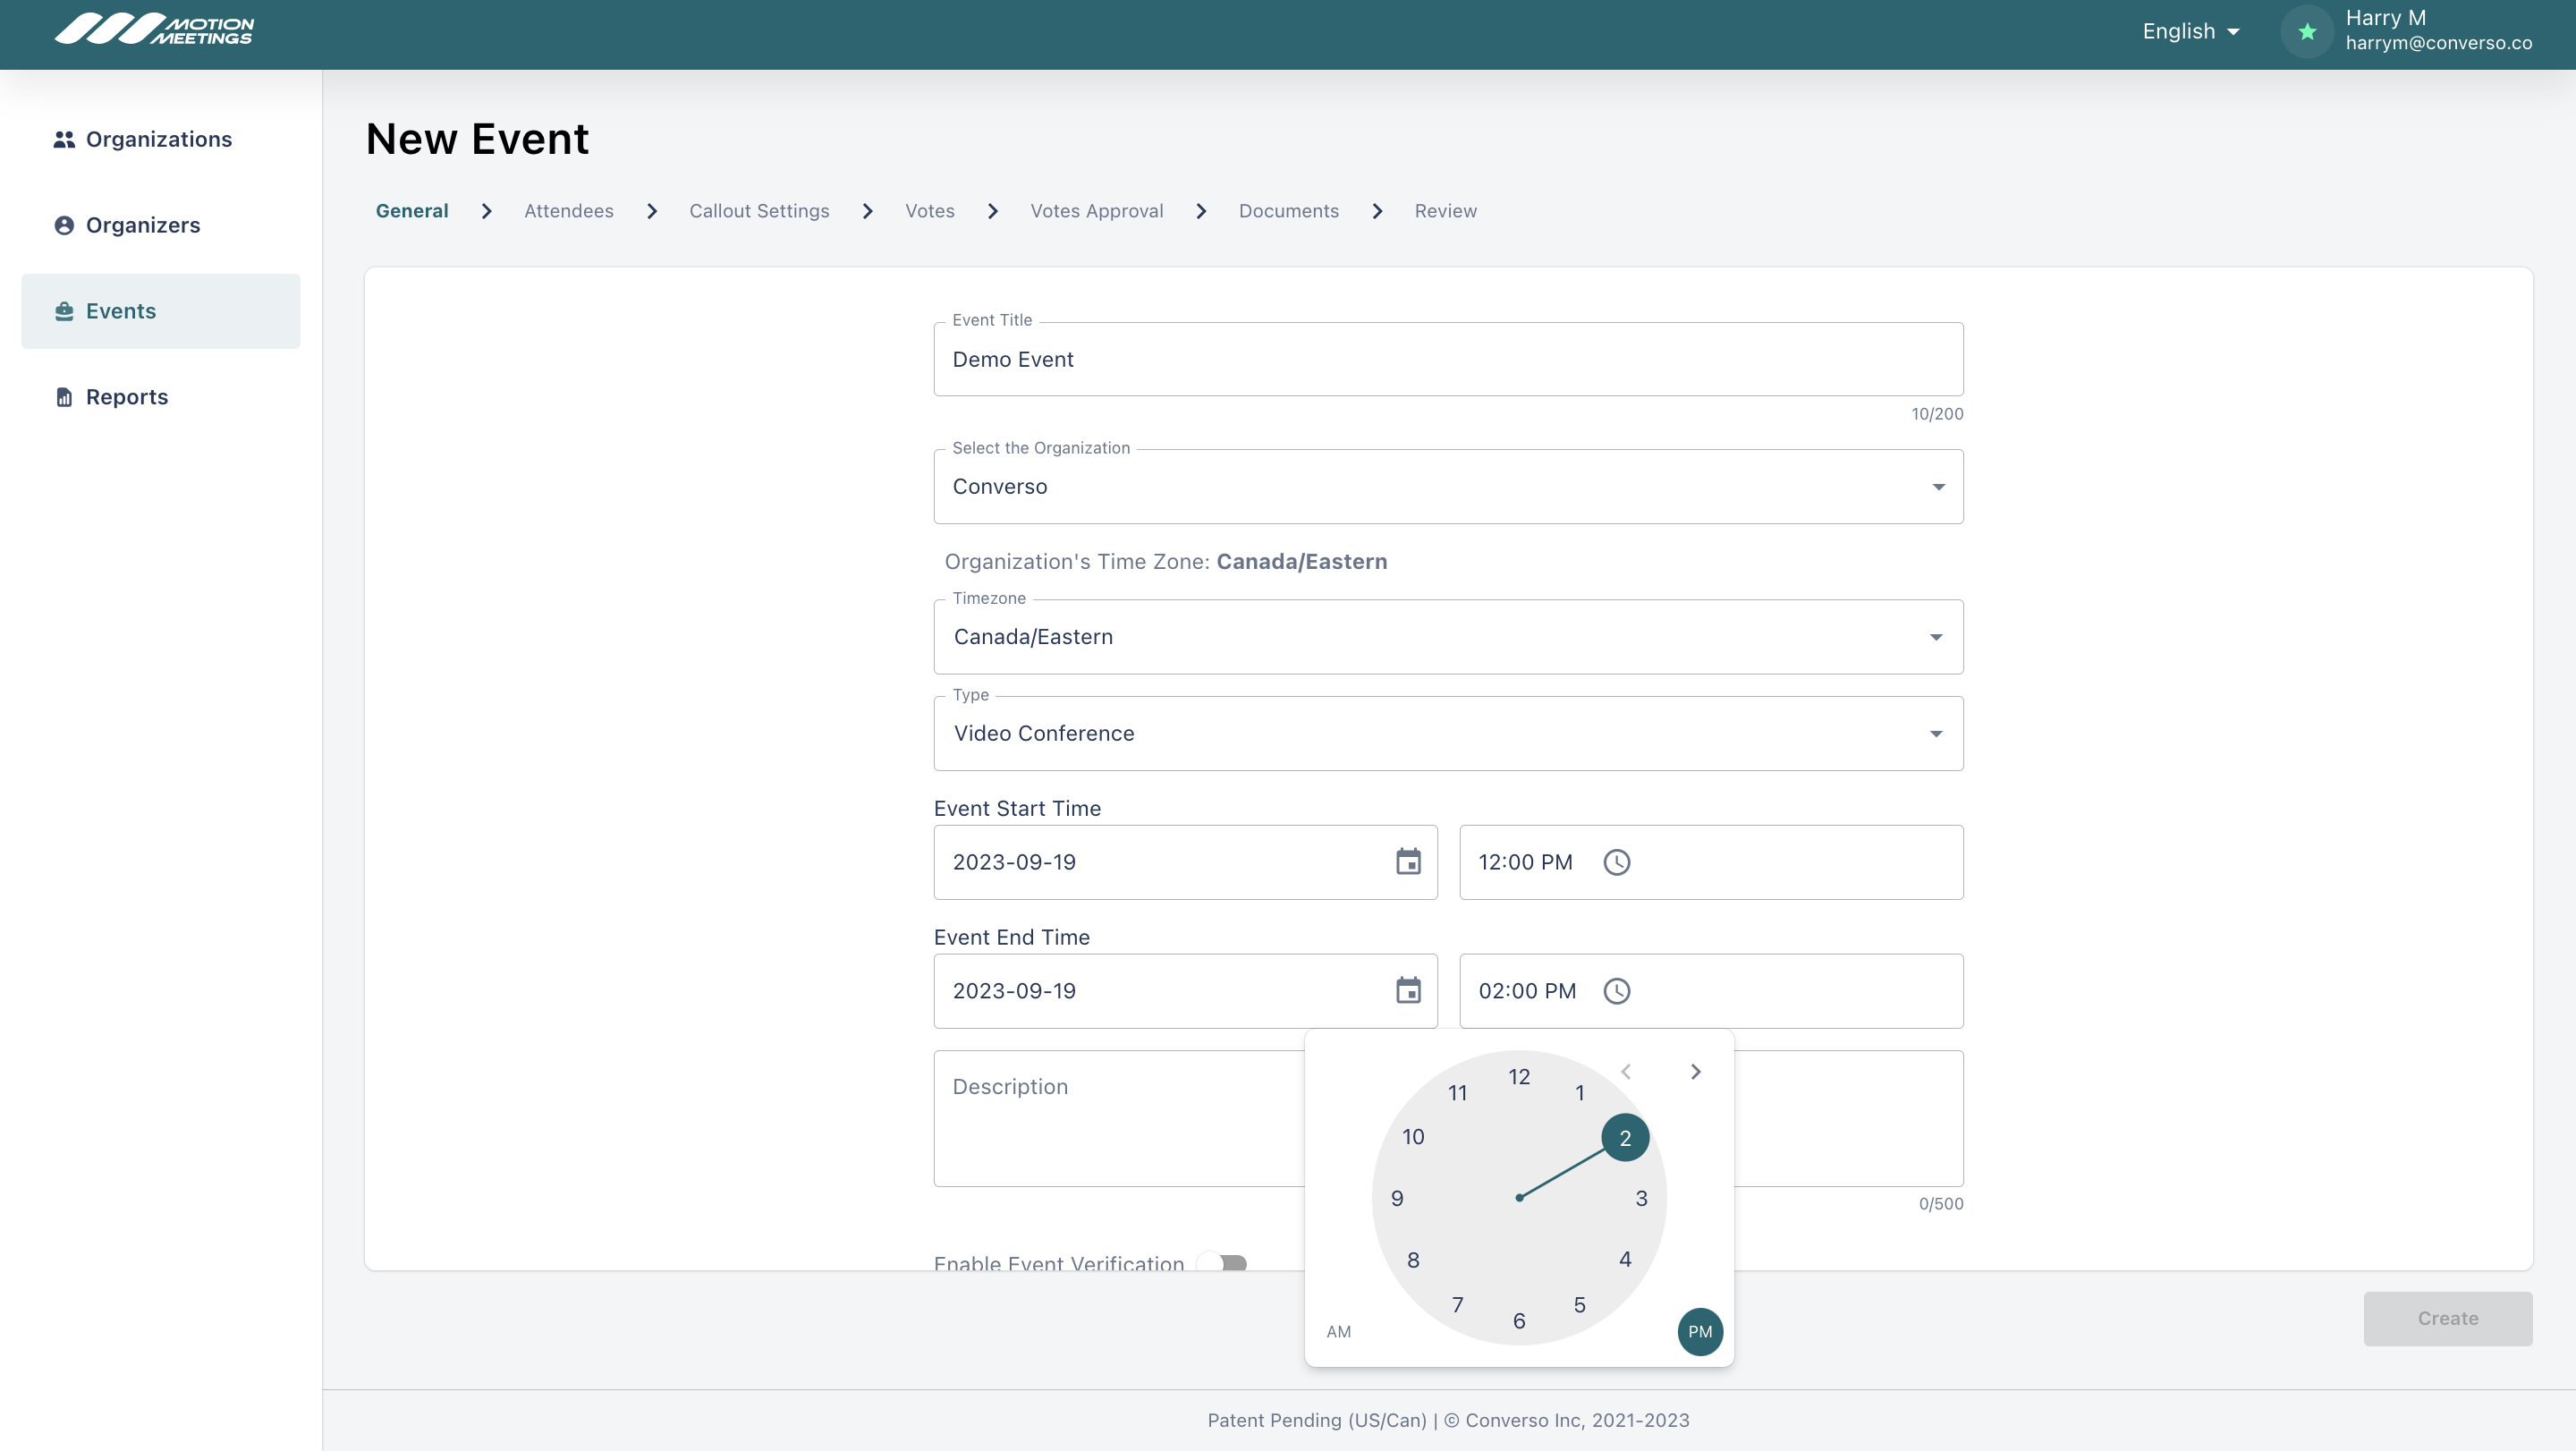
Select your vote End Date and Time. This is when voting will close. Use the clock and click the desired hour, then click the desired minute. Ensure you have elected AM or PM in the bottom left and right corners of the pop-up. You can then click away from the pop-up window.
Note that the start time will be in whichever timezone you selected in the "Select Your Timezone" step.
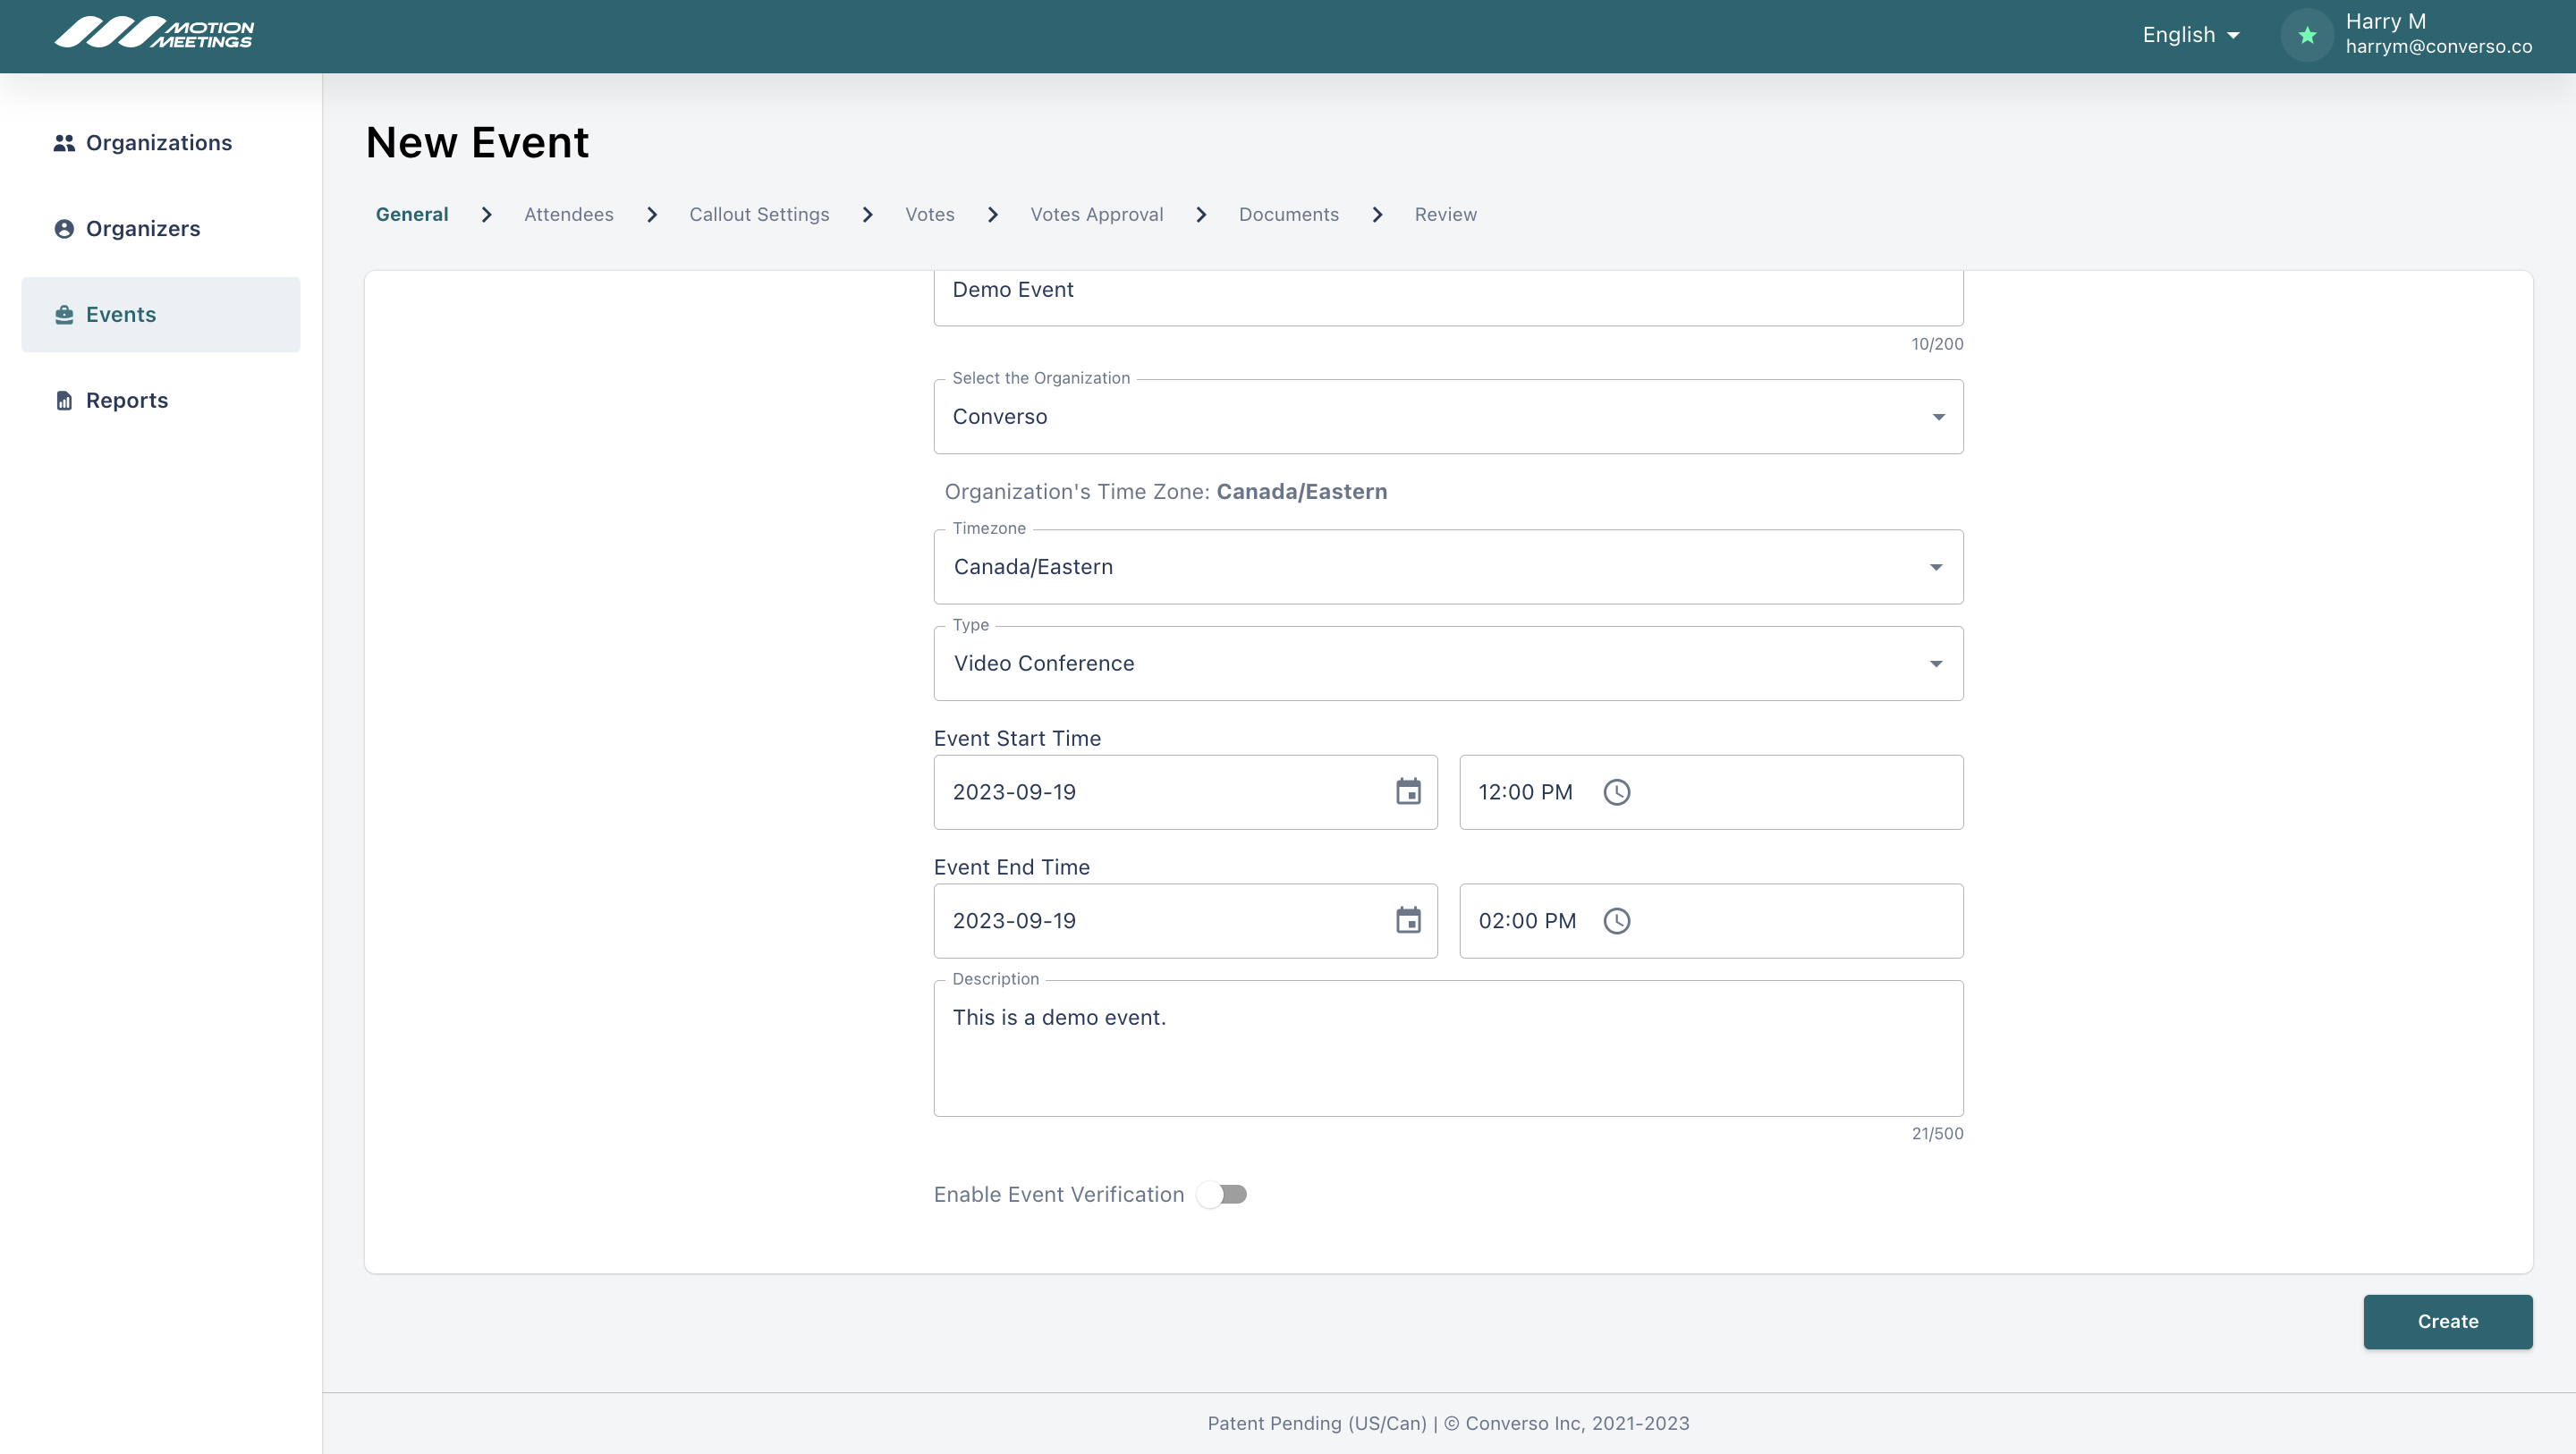
Enter a short description of your event. This description will be included in the email sent to all attendees. Please make sure any critical information that must be passed on to attendees is placed into this field. (Further along in the process, there will be a chance to upload documents for voters to access.)
Add Attendees (New Attendee)
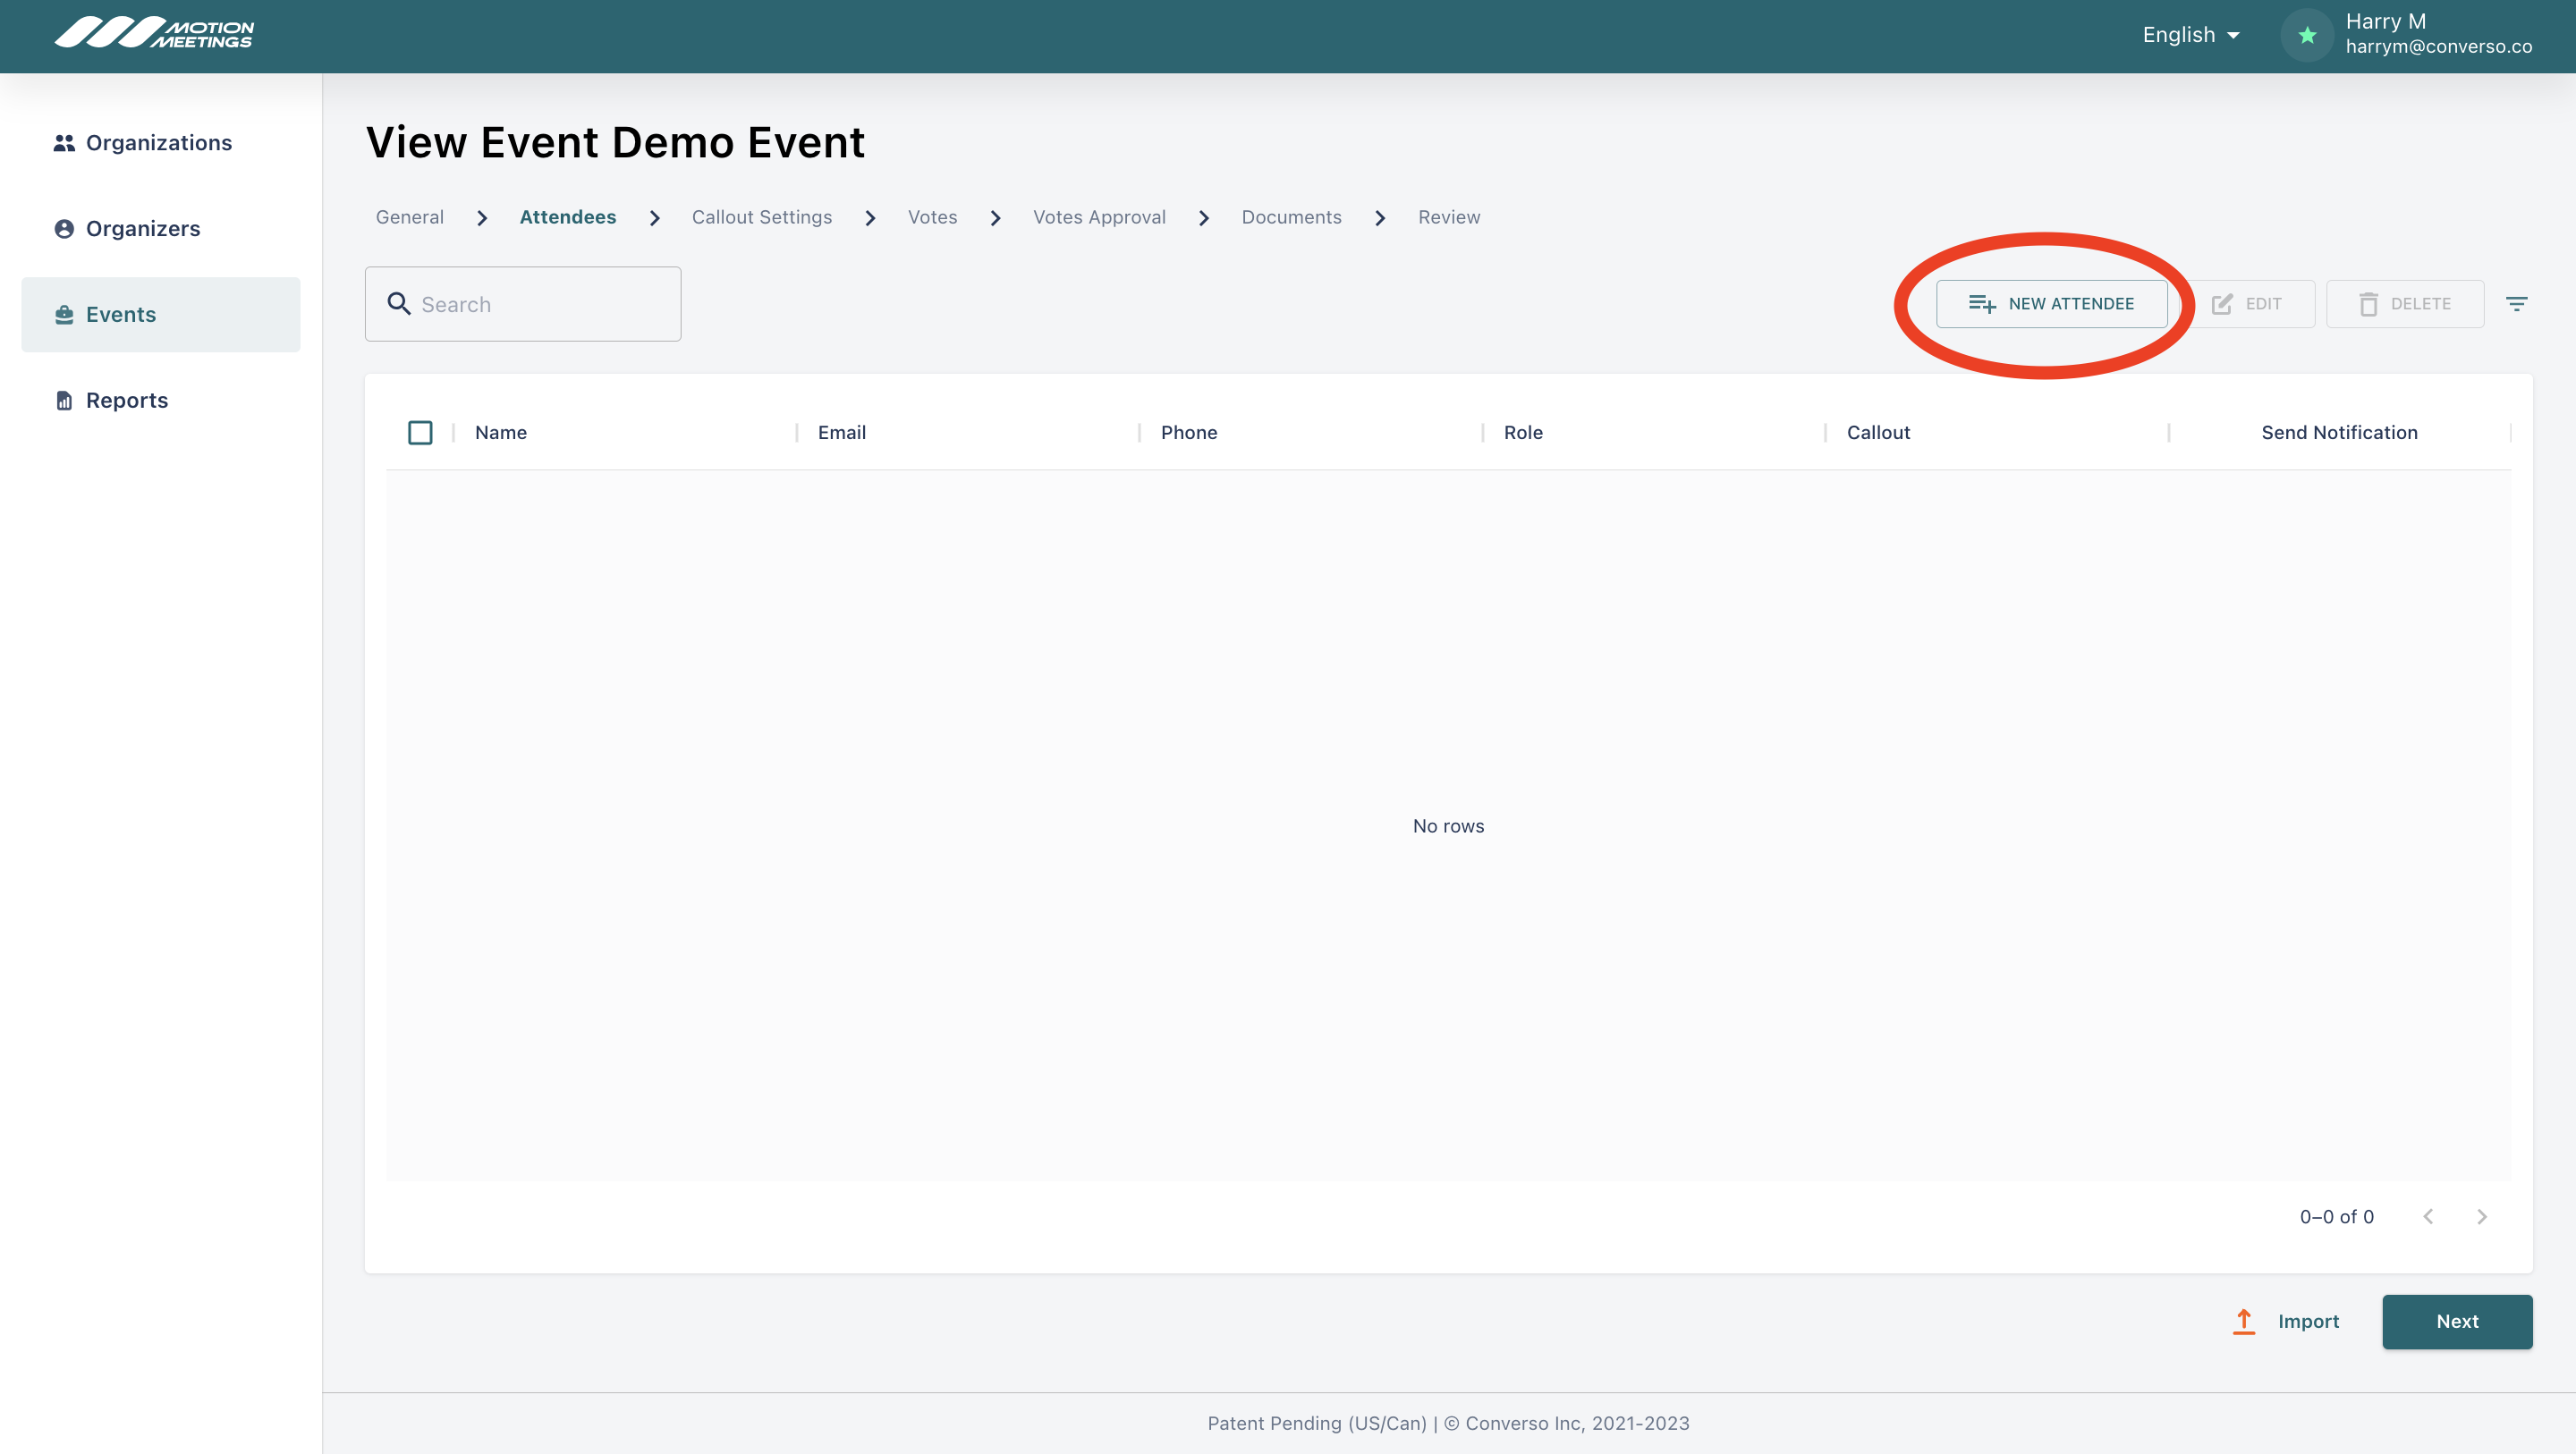
To add attendees manually, click the "New Attendee" button.
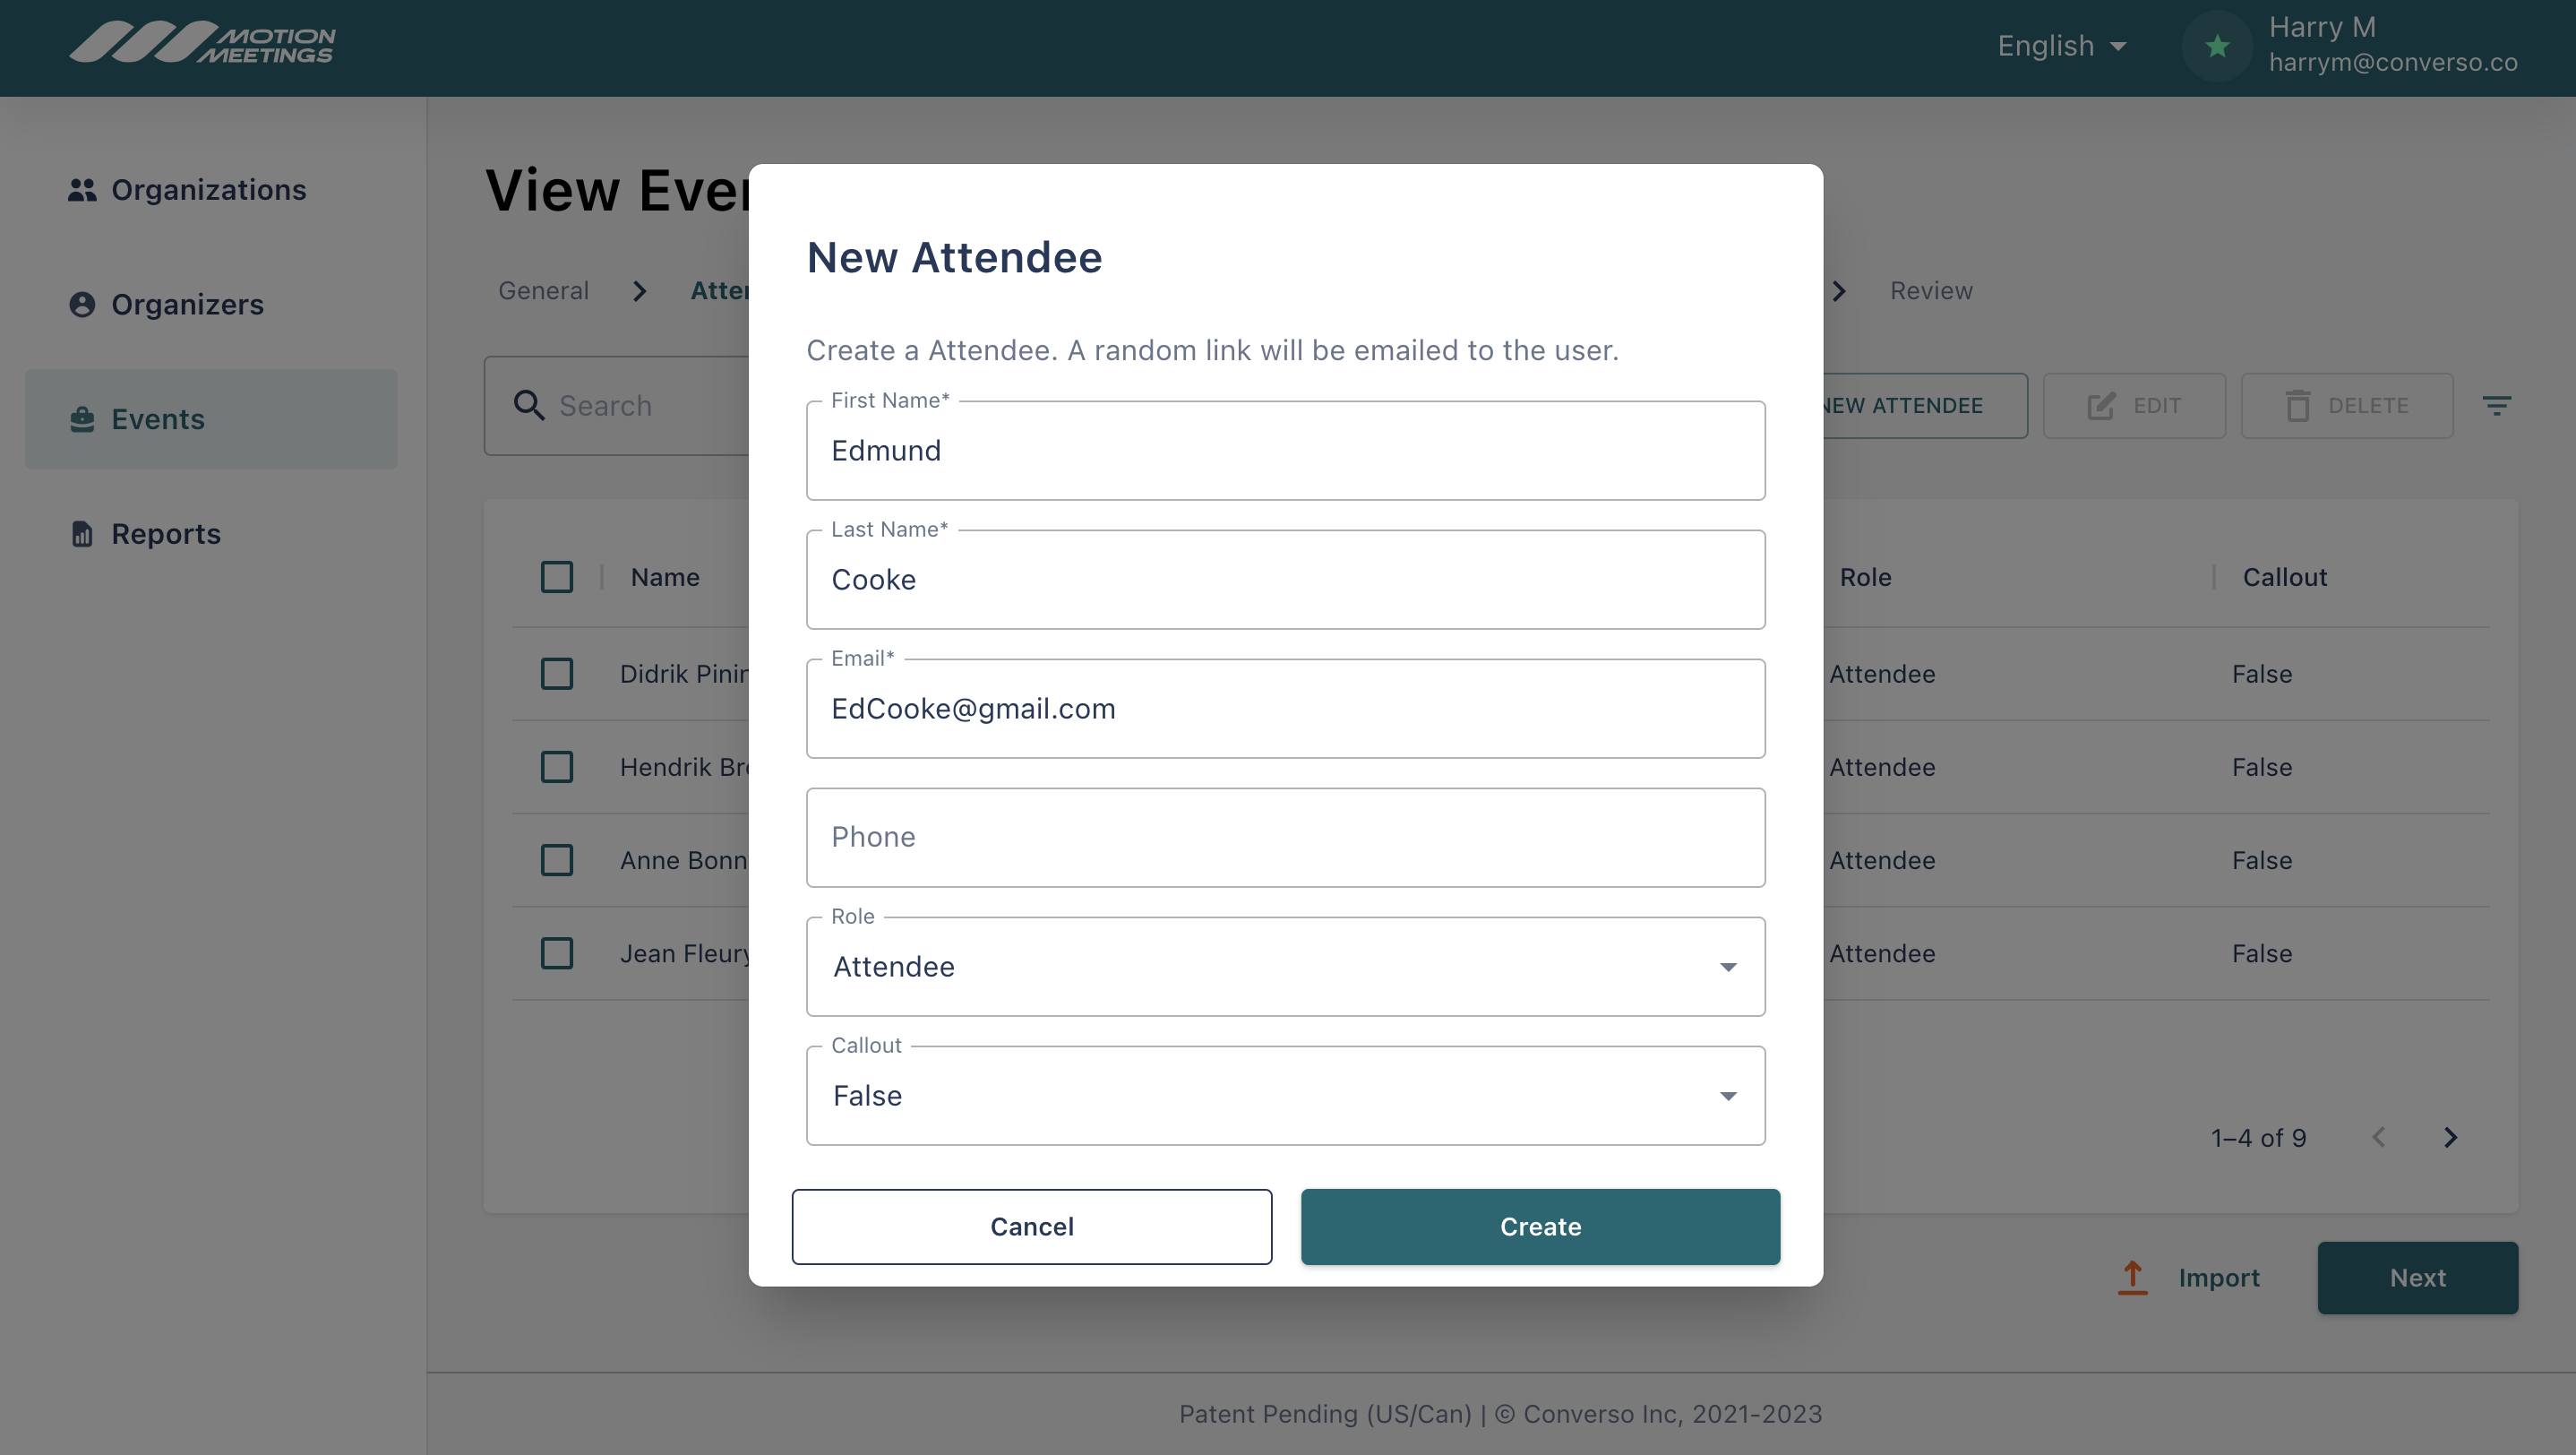
Then enter the attendee information.
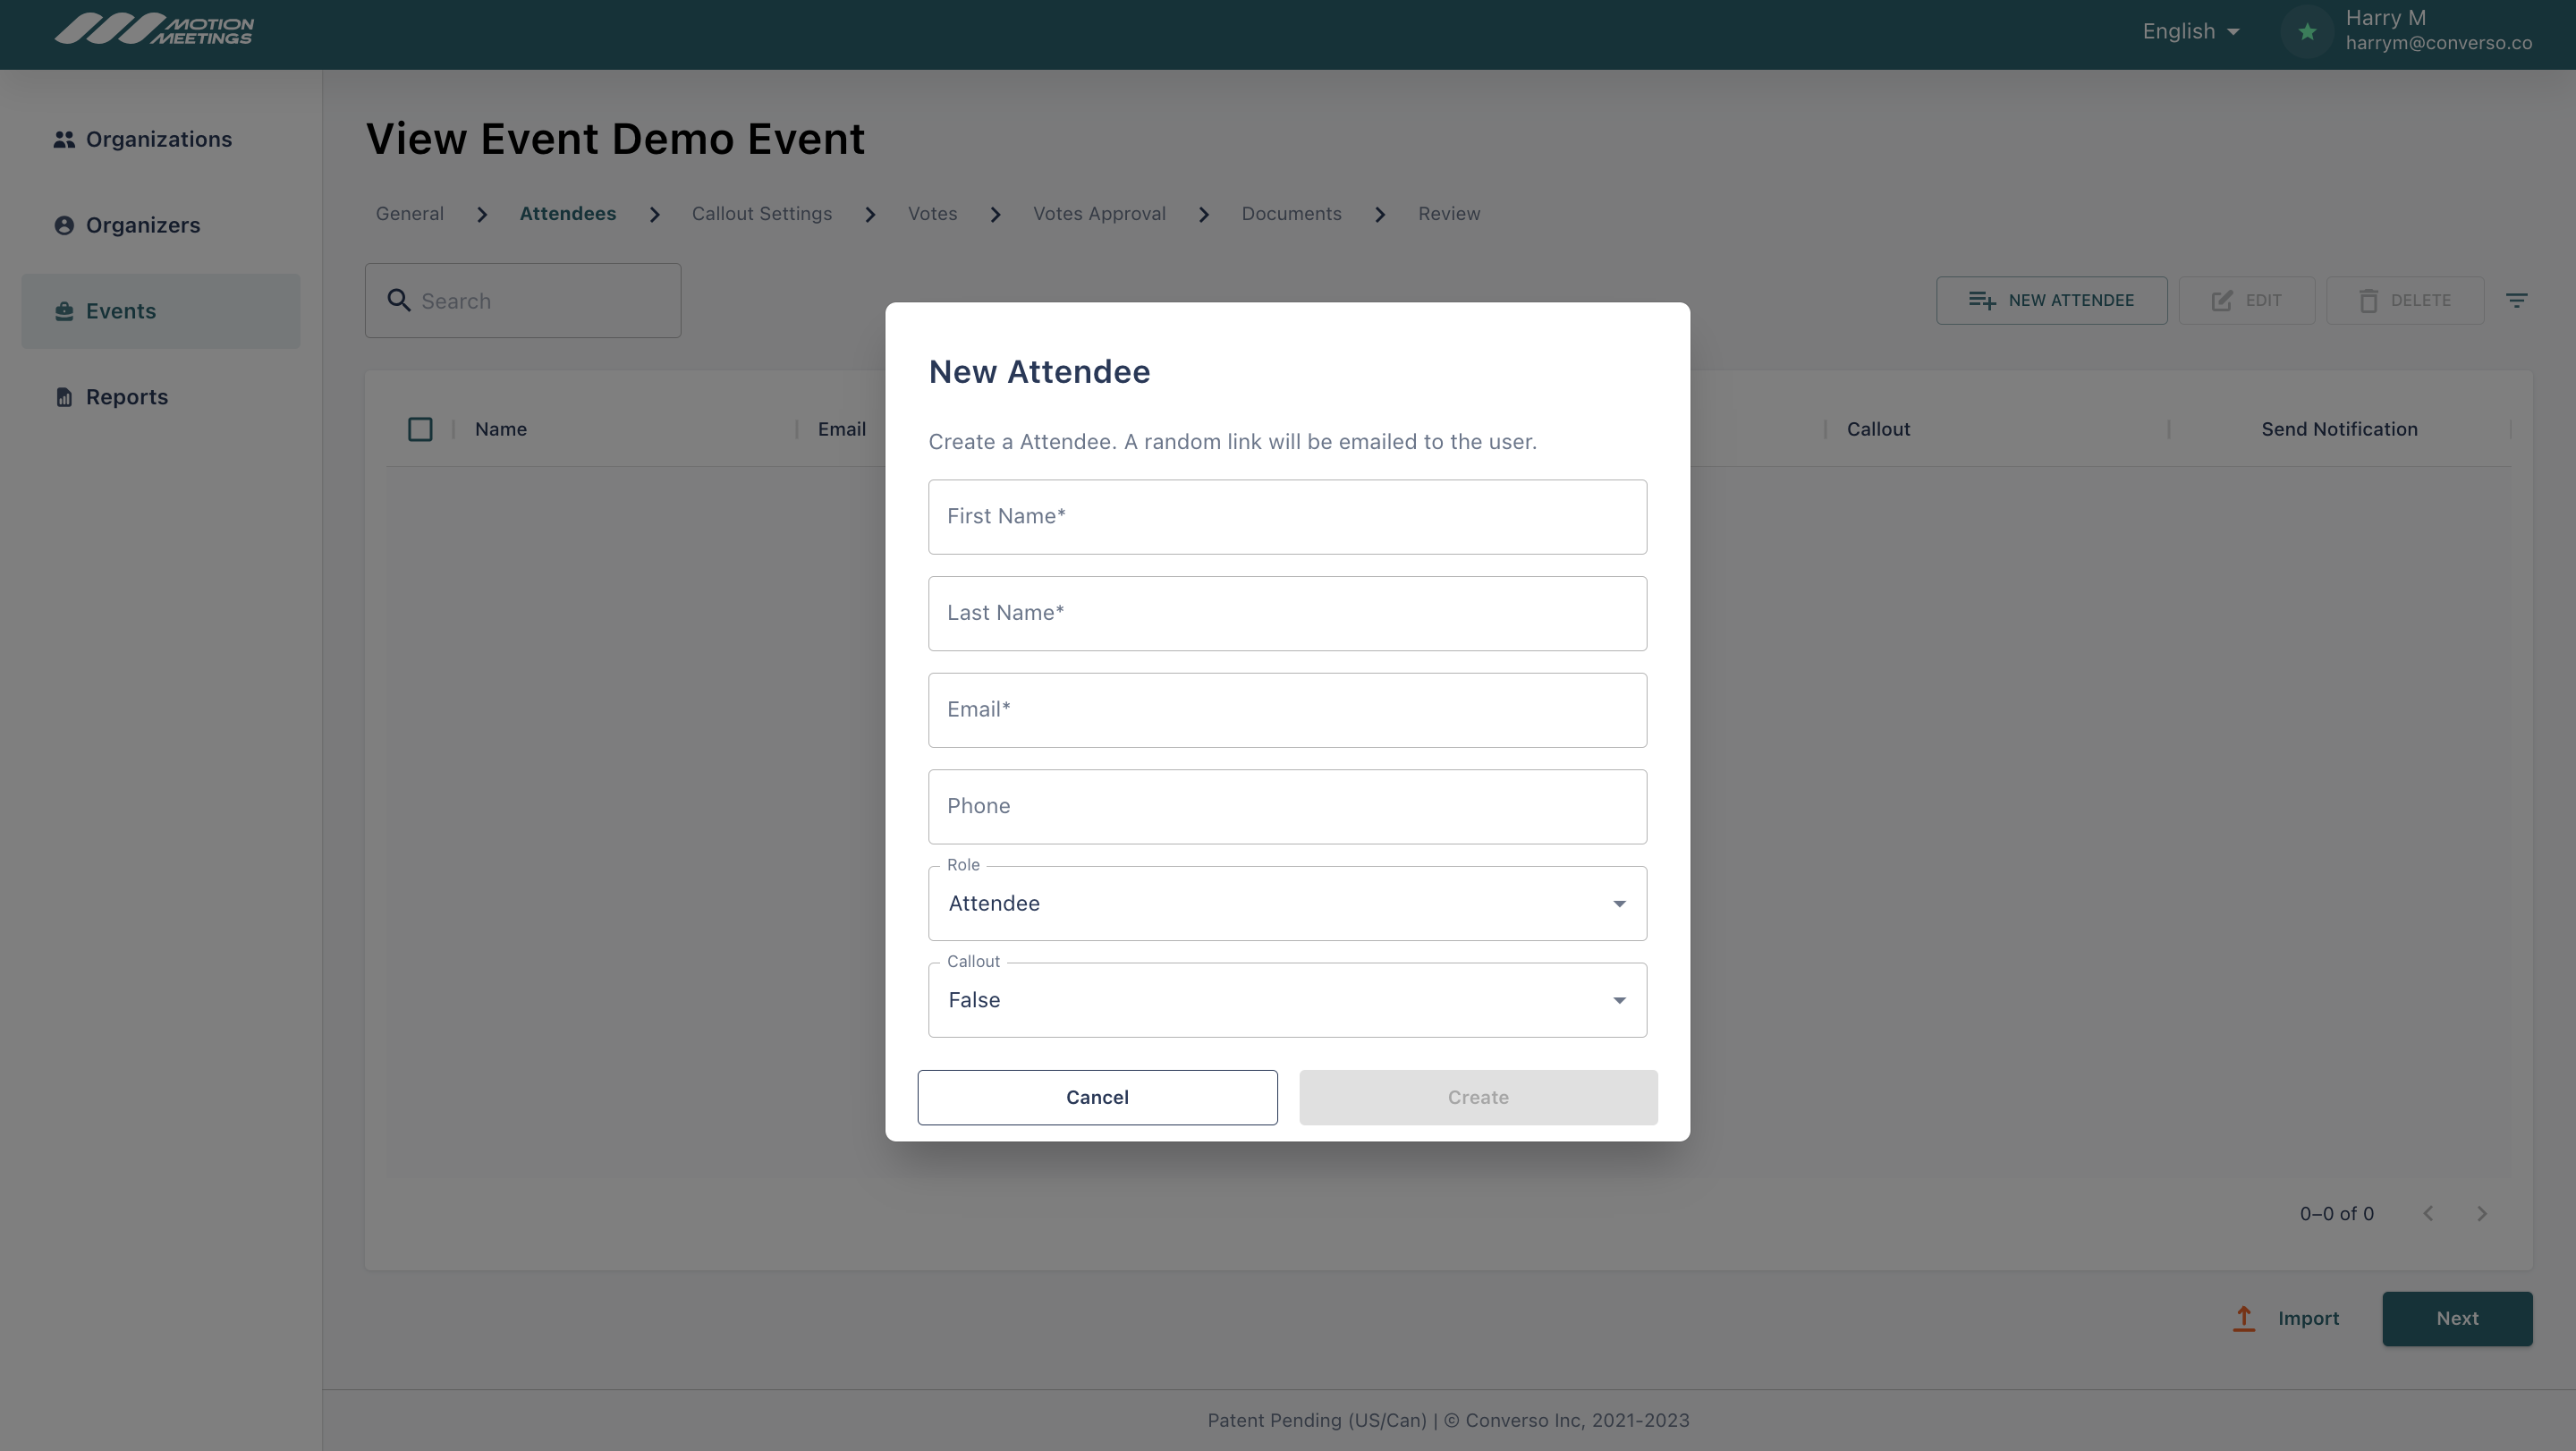
Select the role of the attendee.
Attendee - Starts in the Broadcast Room, must raise hand and be selected to speak, can vote.
In-Person Attendee - For those that are attending the event in-person and will vote in the room.
Speaker - Starts in the Main Meeting Room, can unmute themselves, speak and will be visible. Speakers can also vote.
Observer - Starts in the Broadcast Room and cannot raise their hand or vote.
Screener - An operator for the event, has permissions to screen attendees who wish to speak.
Add Attendees (Import)
To import lists of attendees, click the "Import" button.
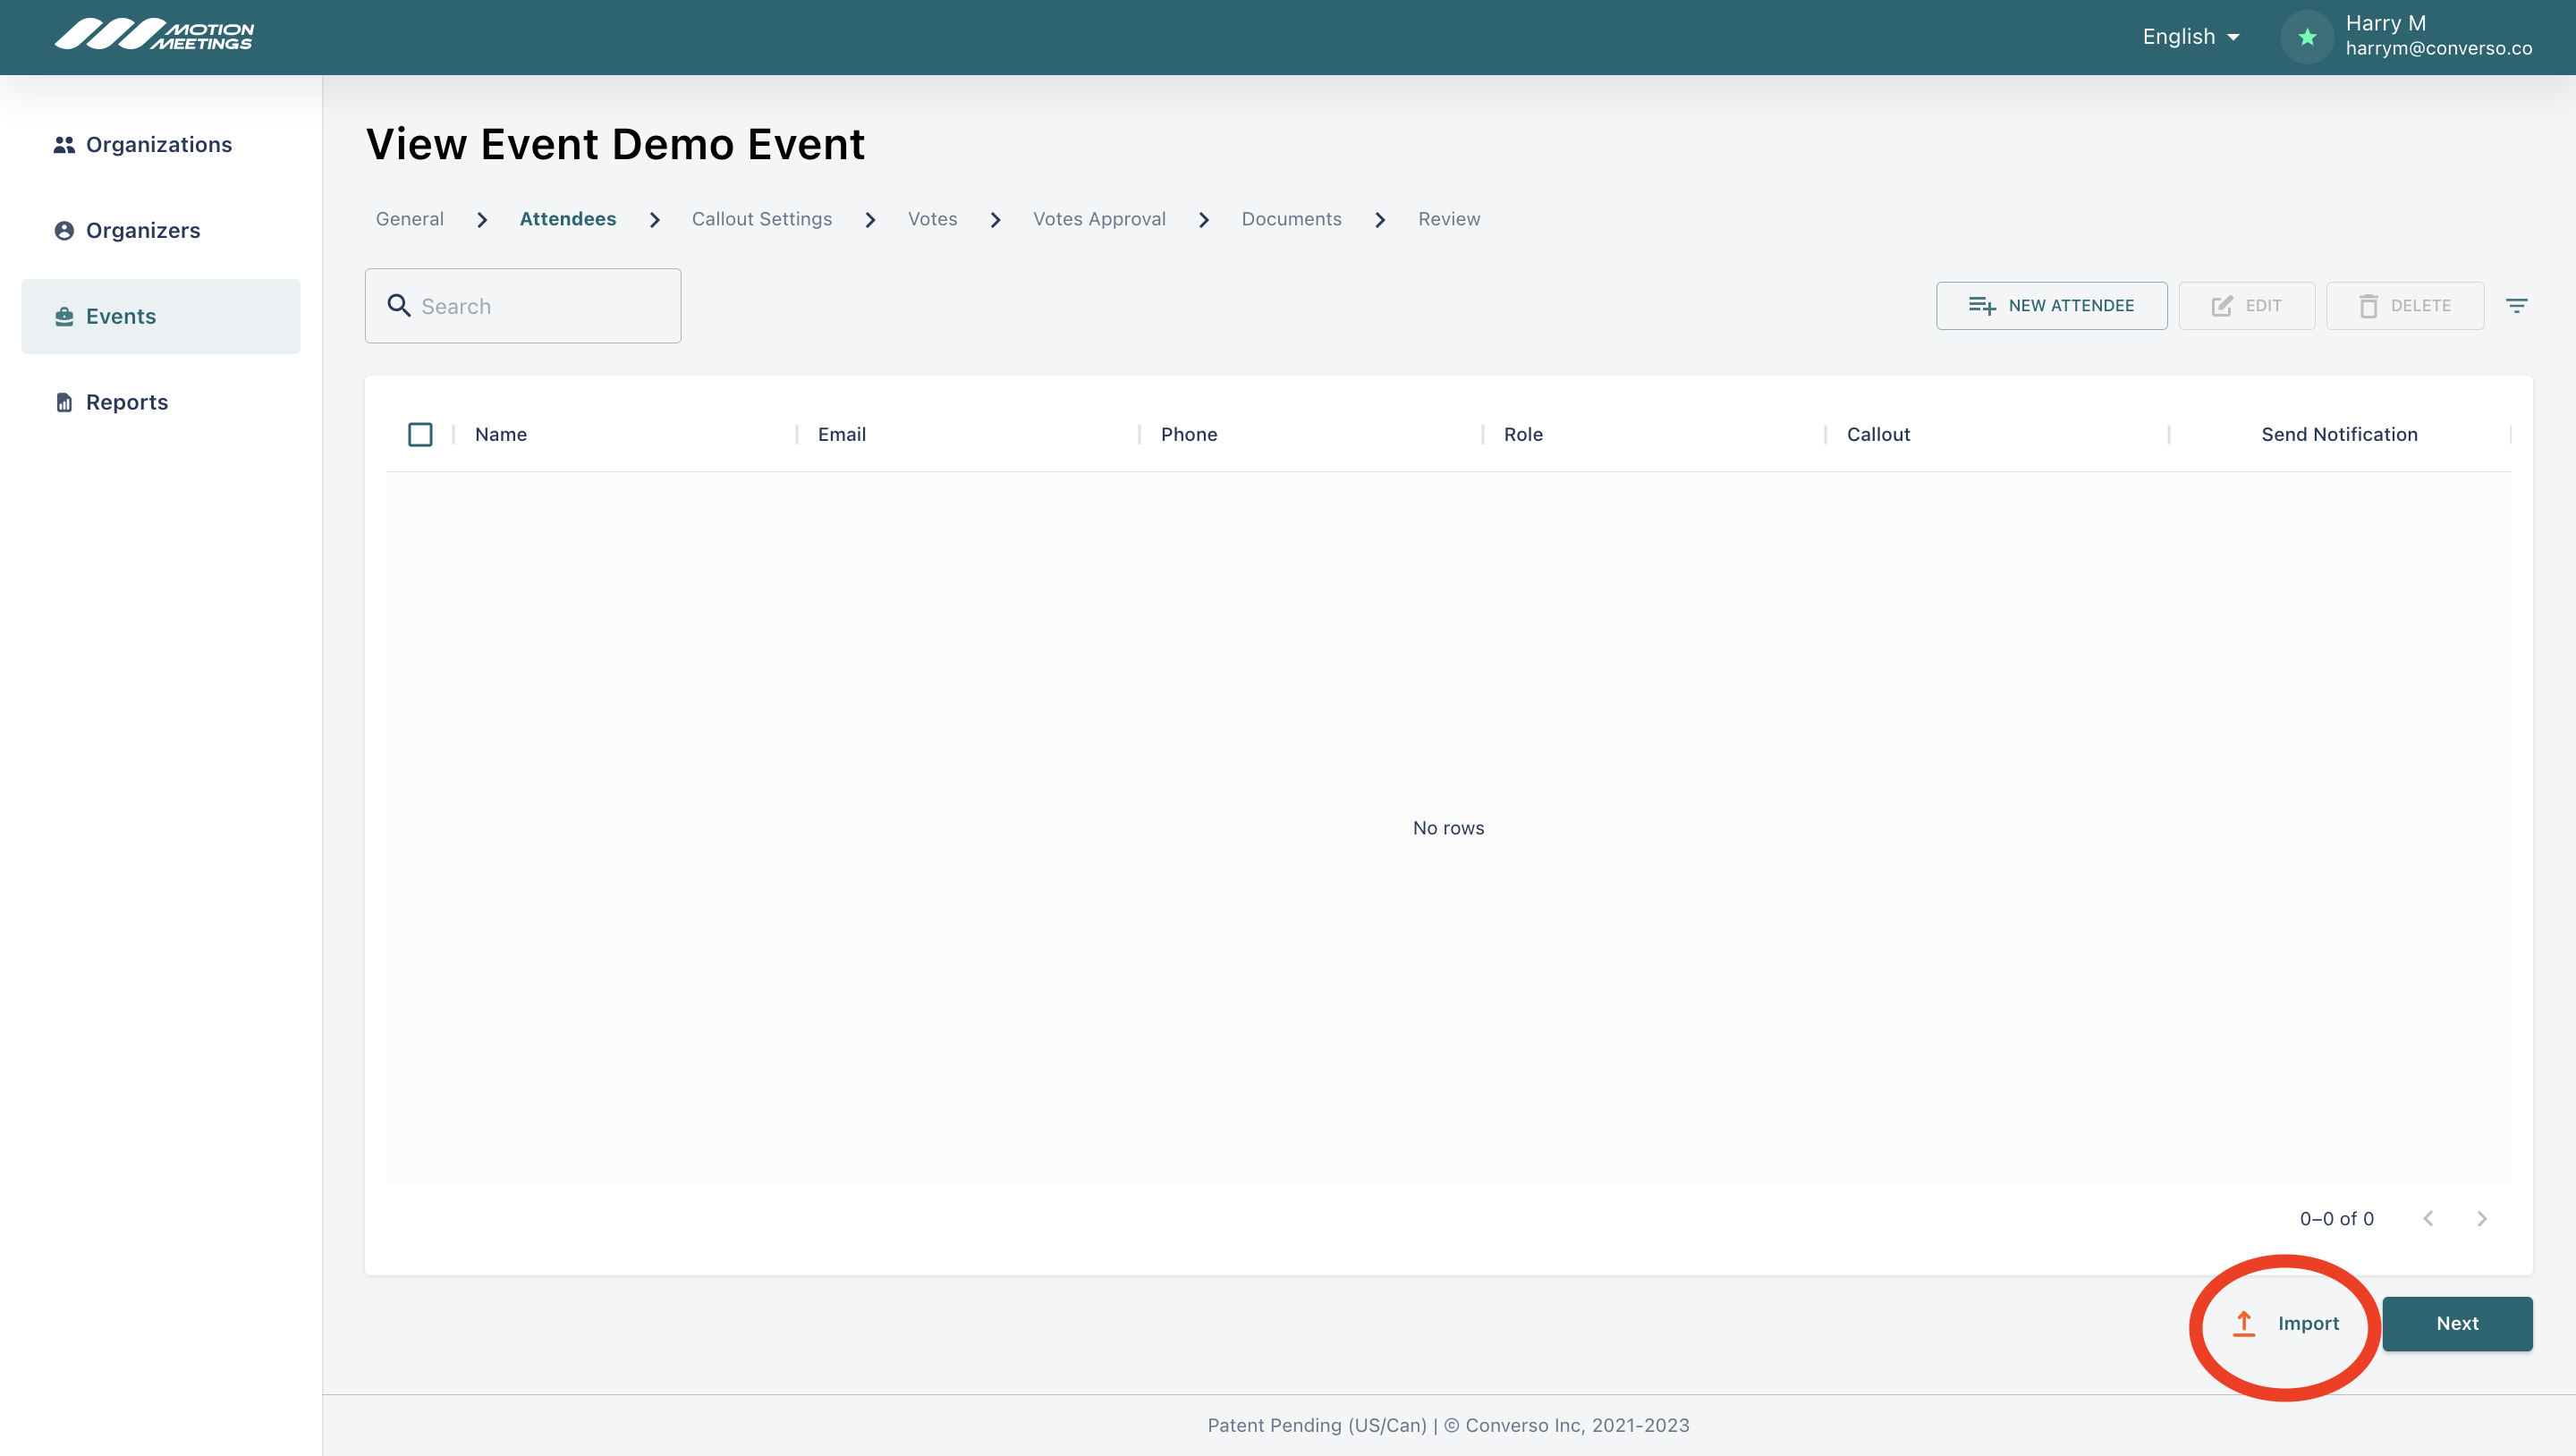
This will open a pop-up that allows you to upload a list of attendees.
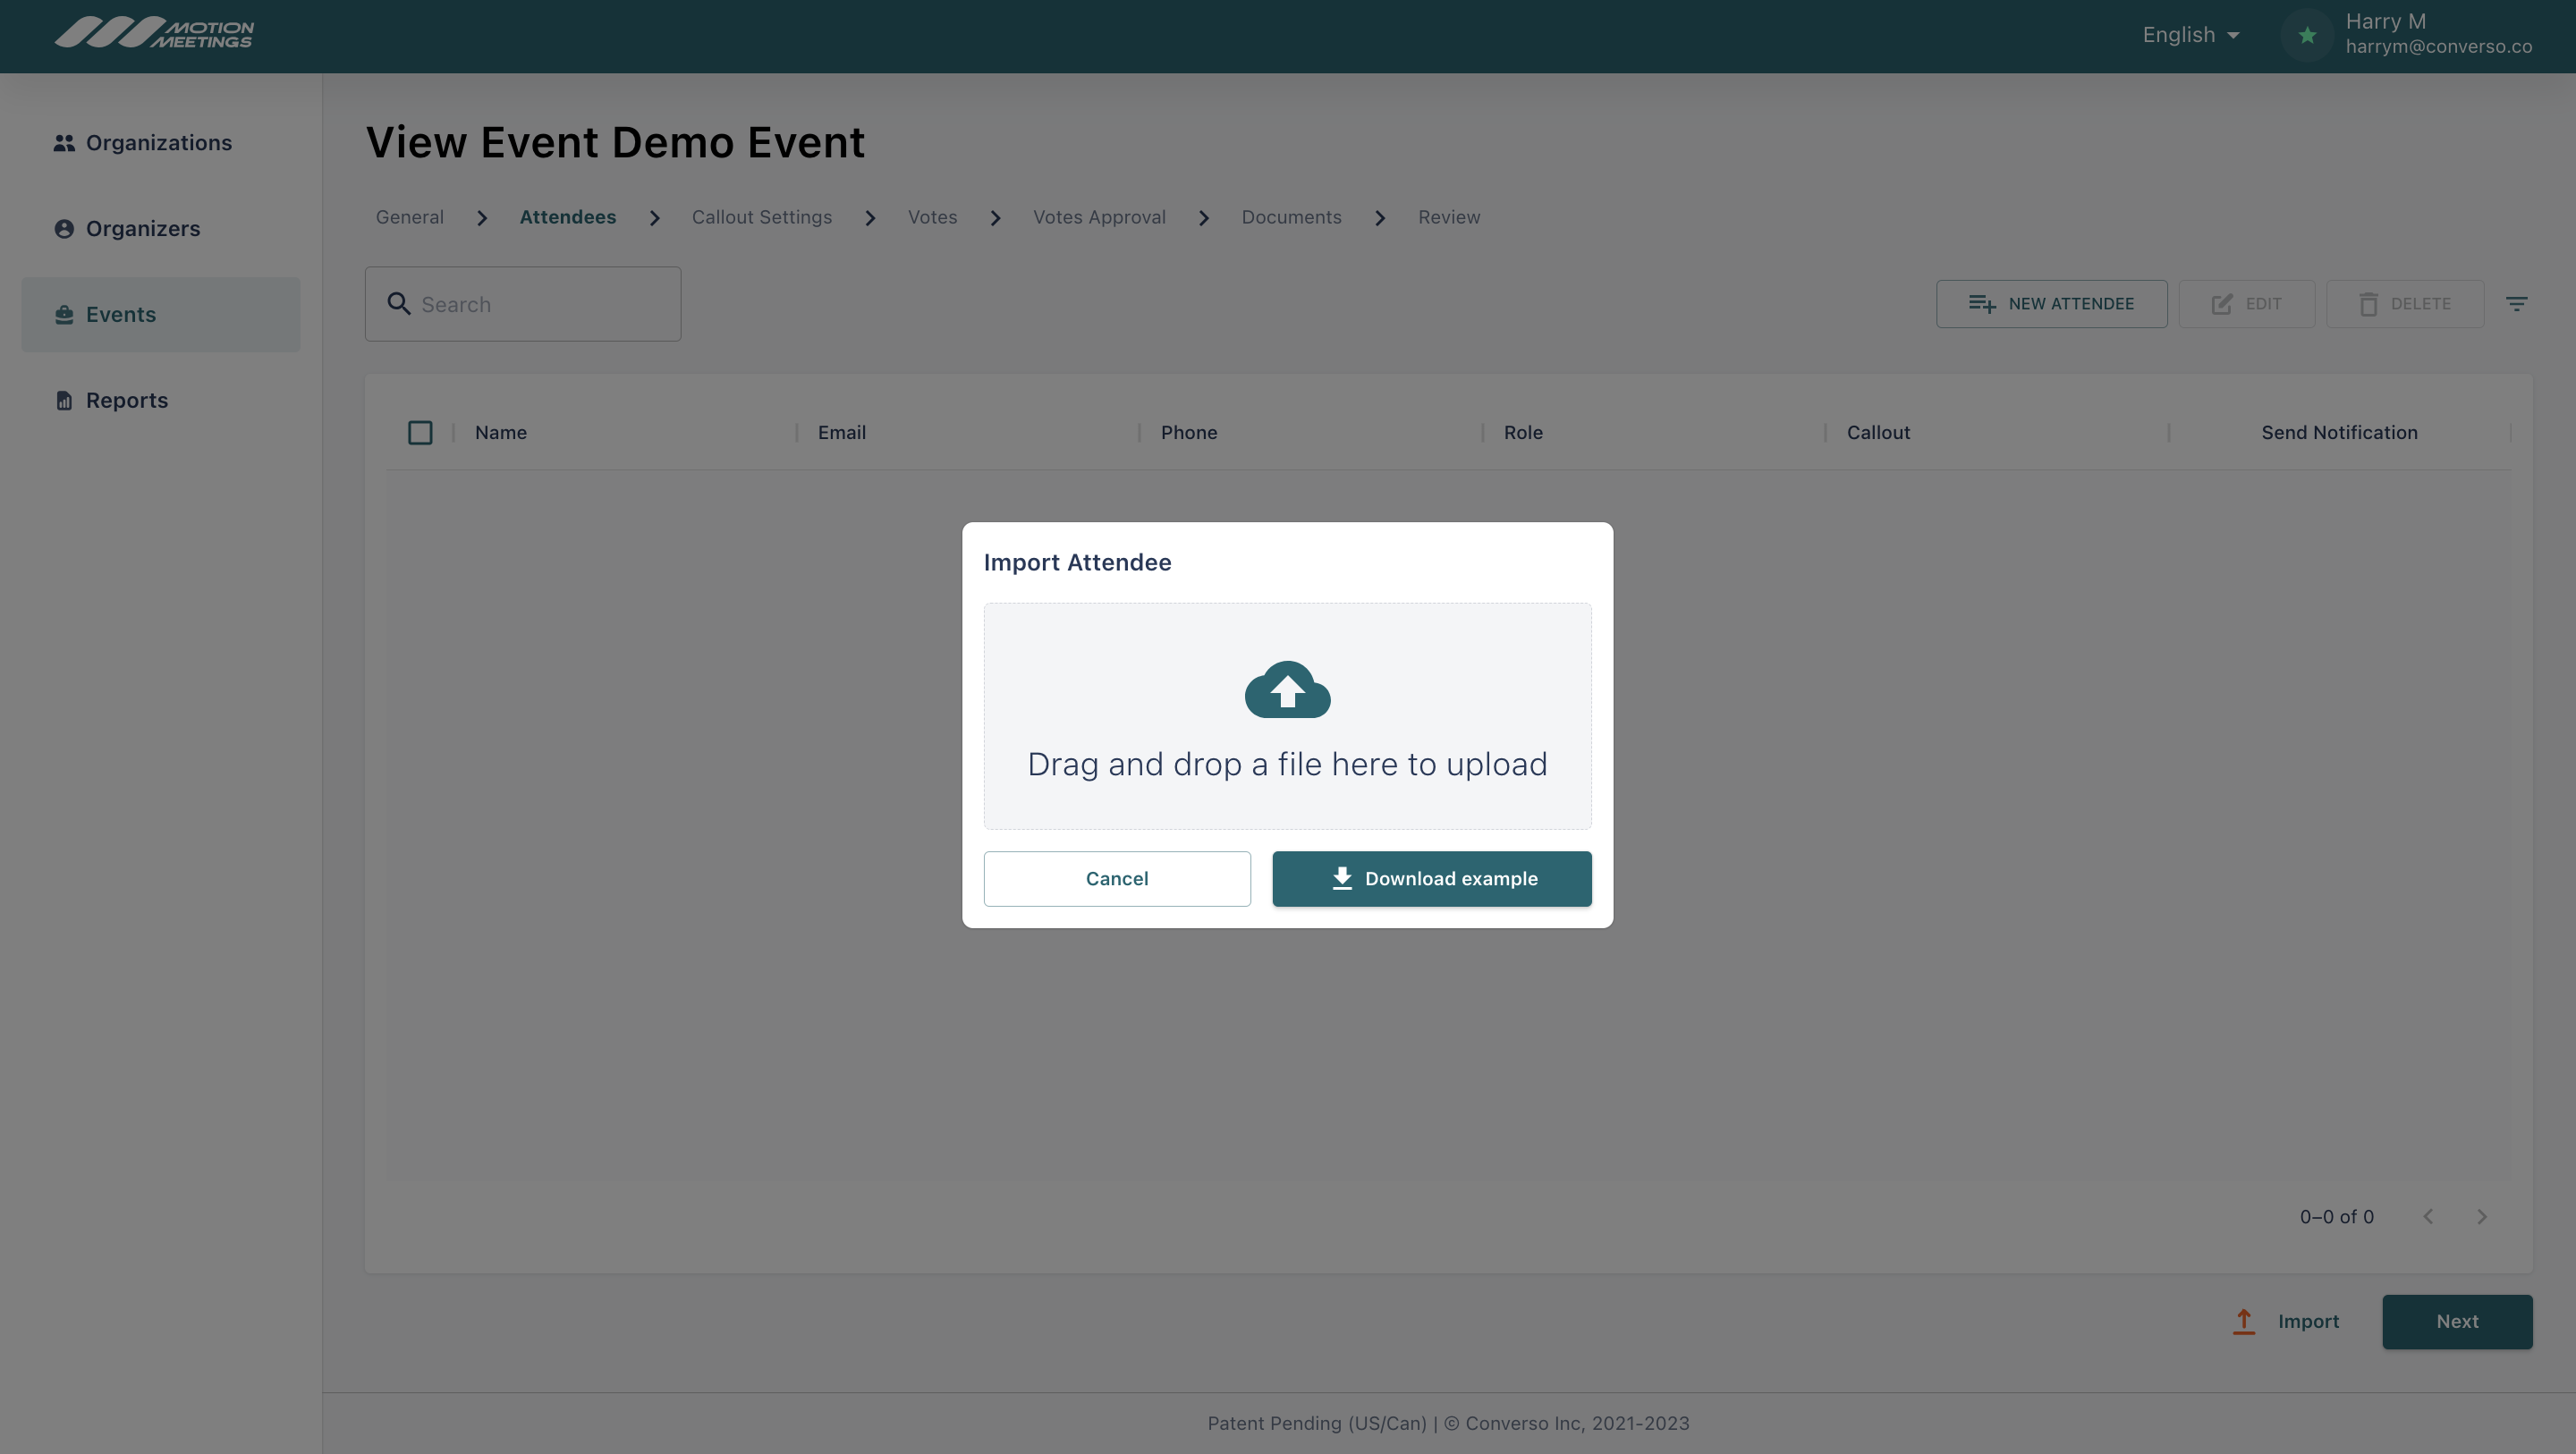
Here is an example of a list.
The columns must be: -First Name - Last Name - Email - Phone number - Role - Callout (yes or no). Make sure the columns in your list align with the required columns or you will receive an error message and you will not be able to upload.
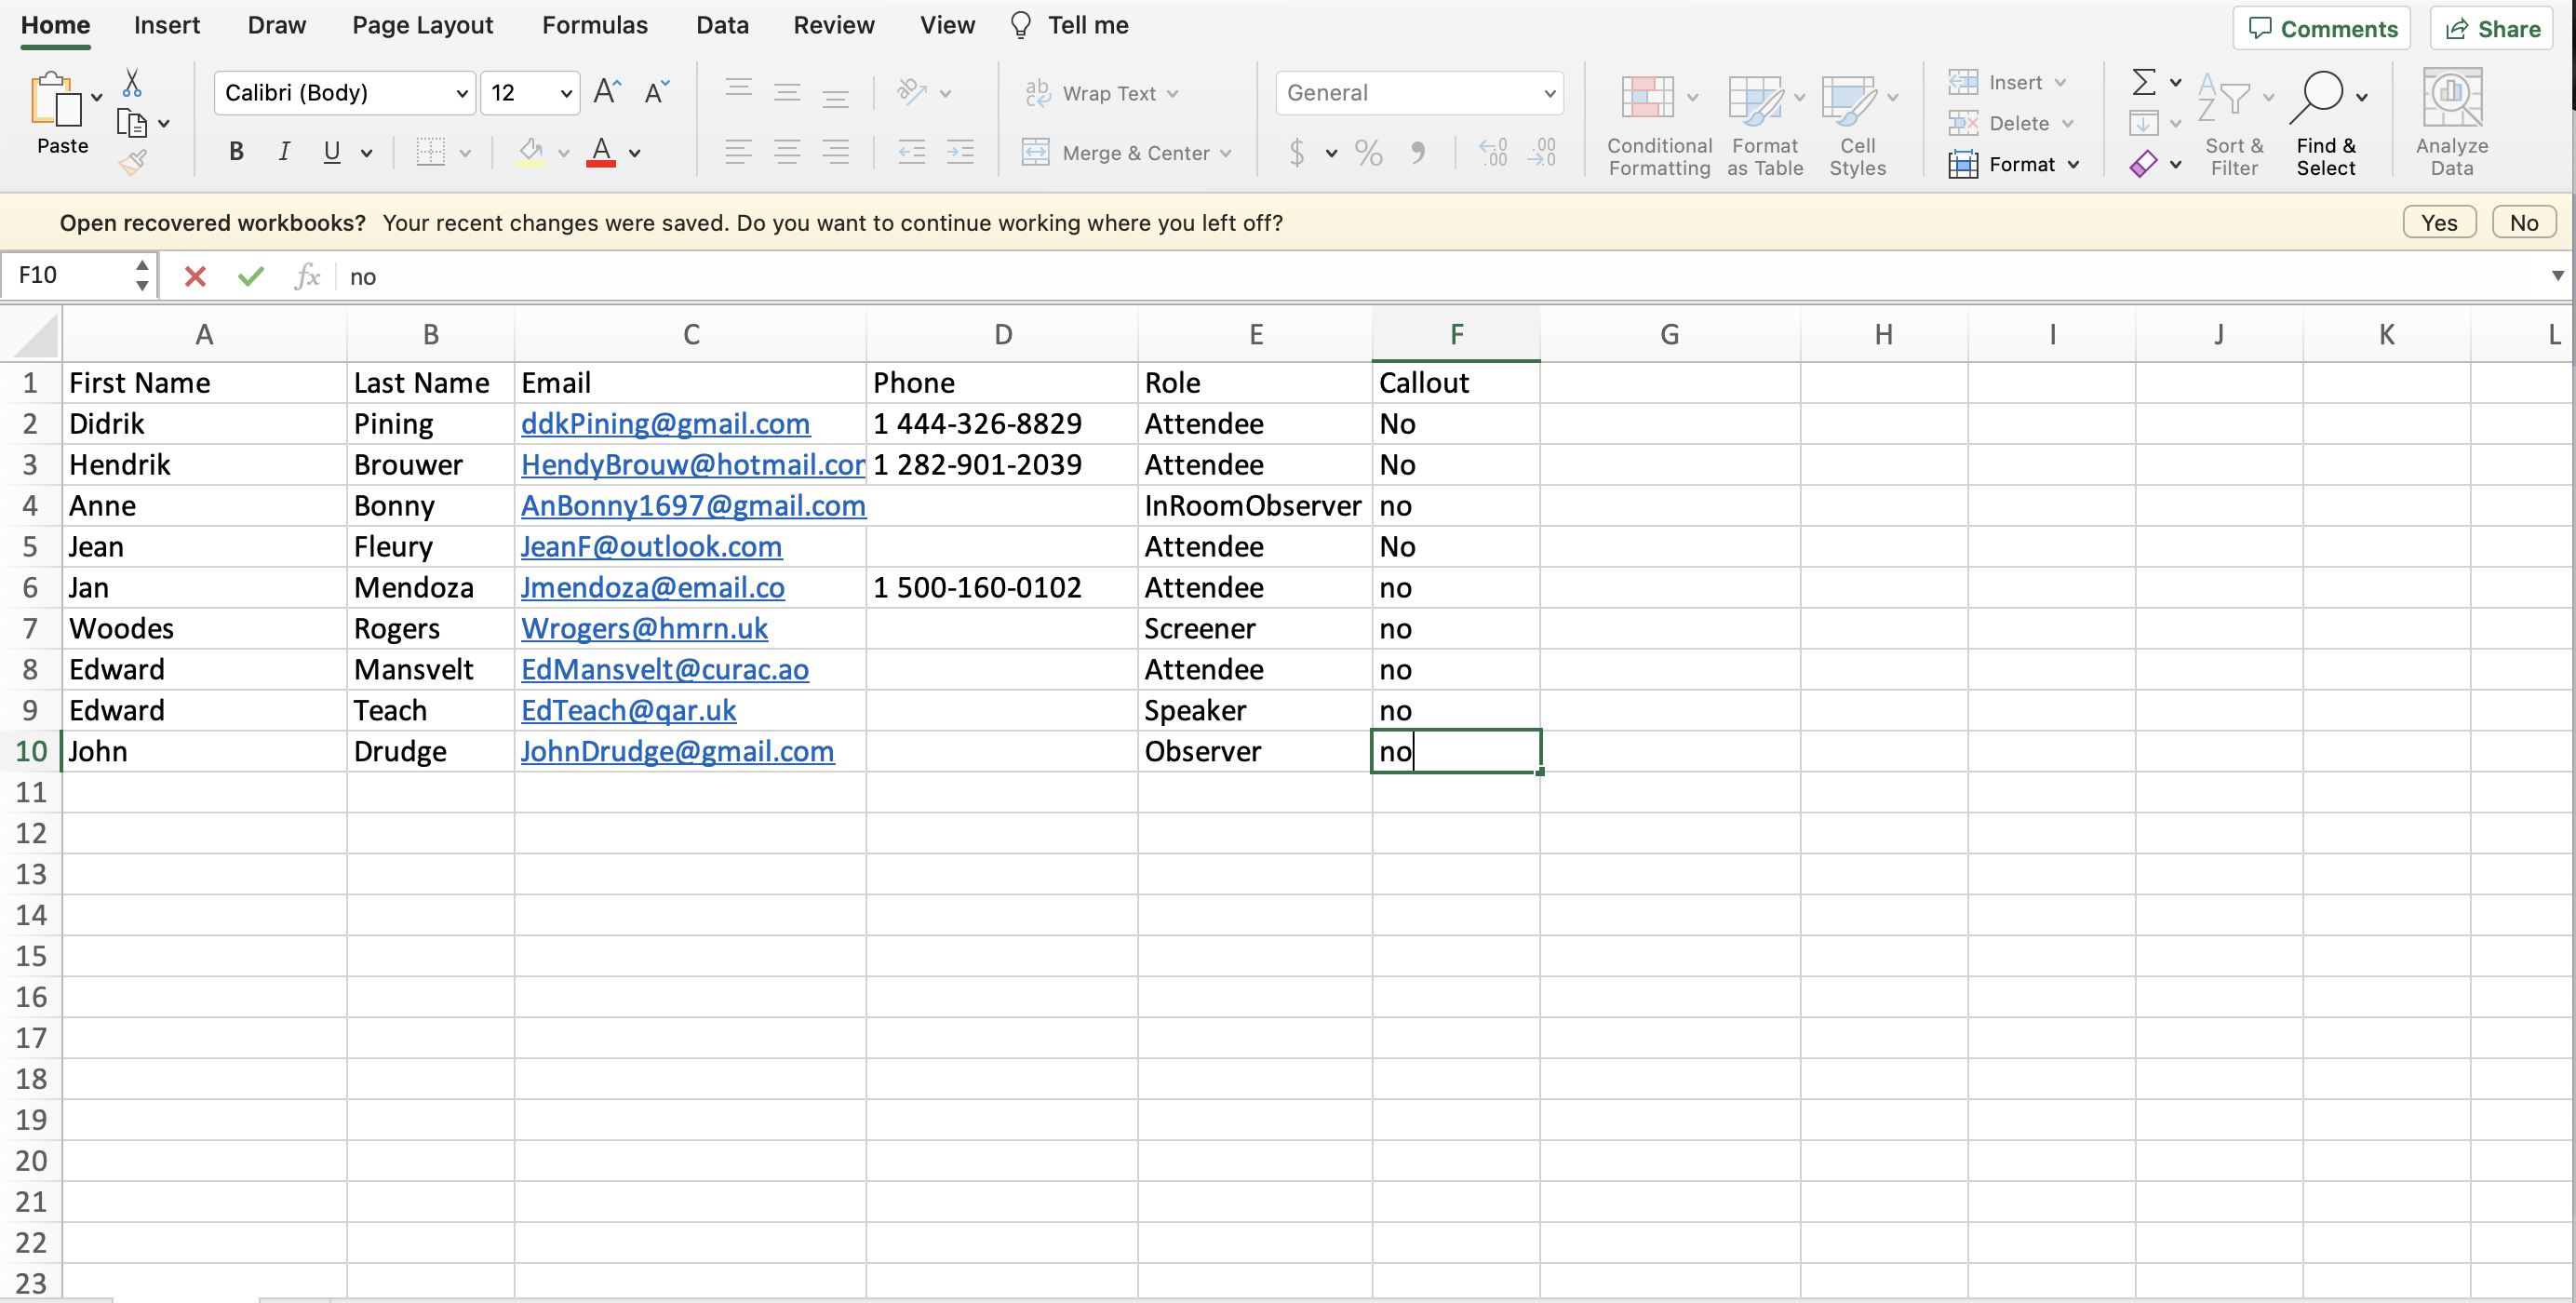
Click Upload and wait for the system to validate the format. This will be what your attendees list looks like.


If needed, download the failed records and edit to ensure that the formatting is correct and there are no duplicate attendees. You can then upload the edited file.
Click "Next".
Votes
Votes Approval
From this page, you can view all of the votes you created on the previous page.
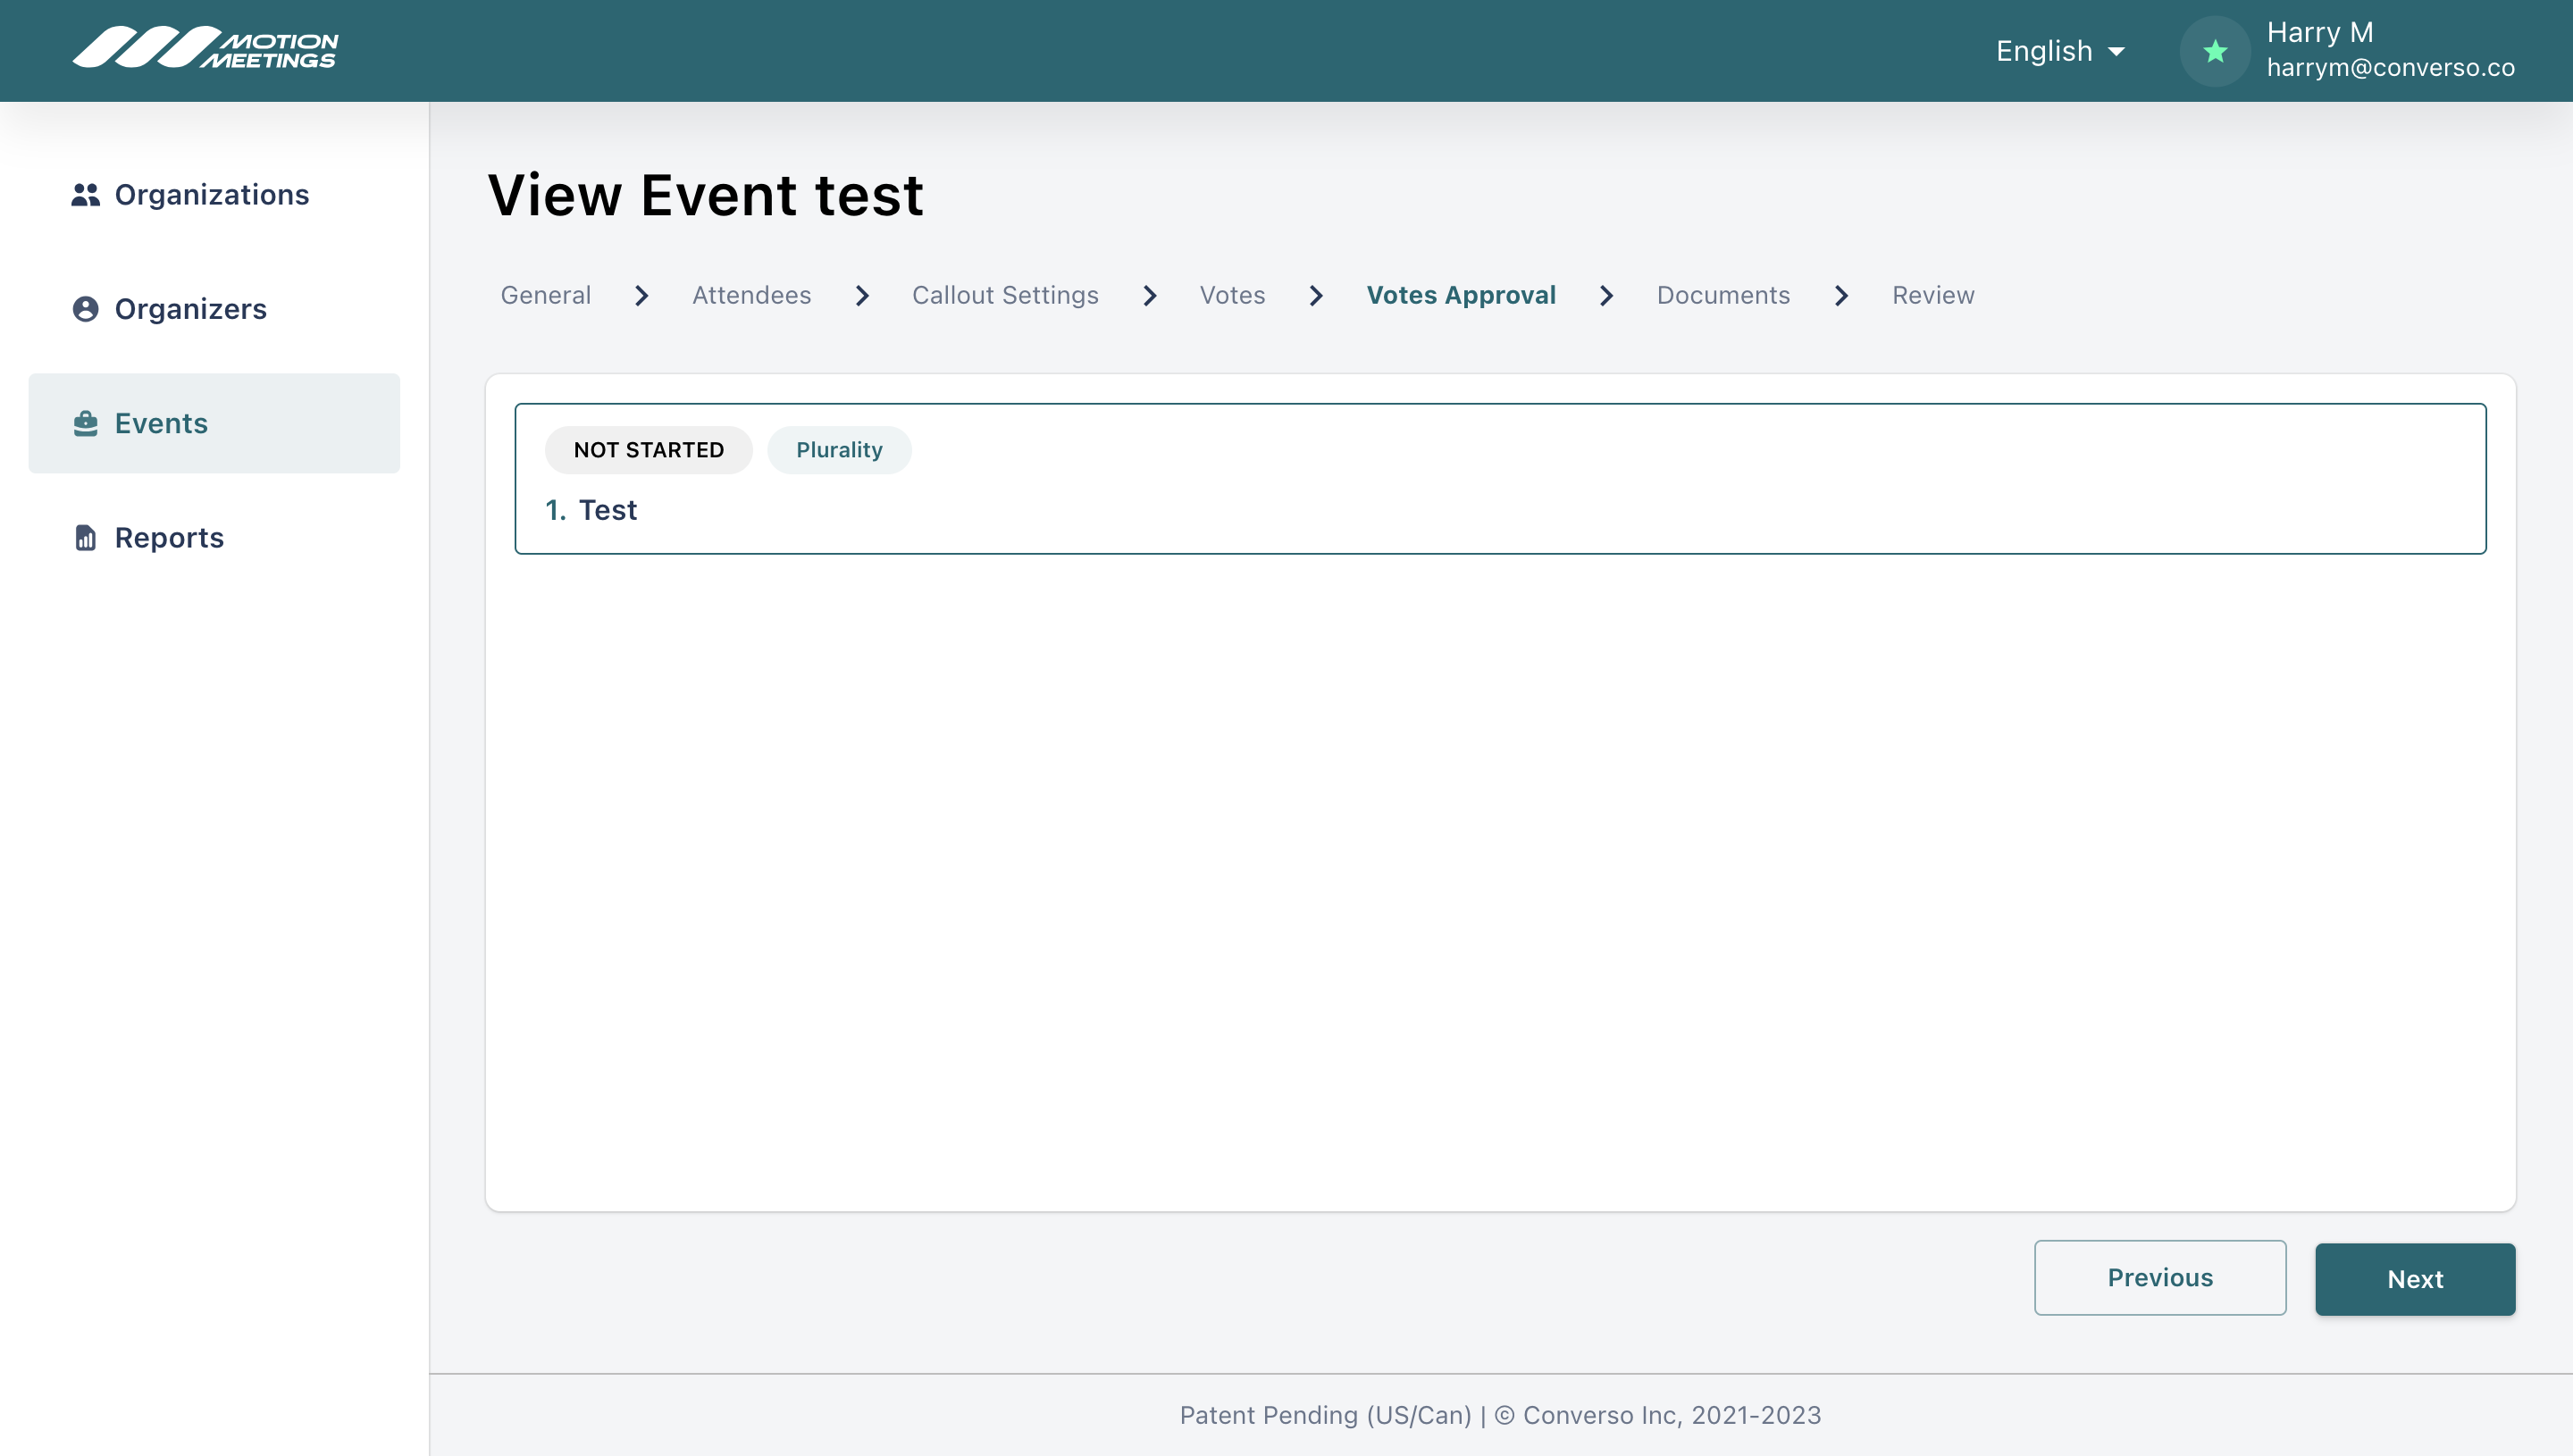
Click "Next" when you are done and you have confirmed that the vote question and options are correct.
Documents
In this tab, you can add documents that will be available for attendees to download. Simply drag and drop files or select a file from your computer. (Video and audio files not supported.)
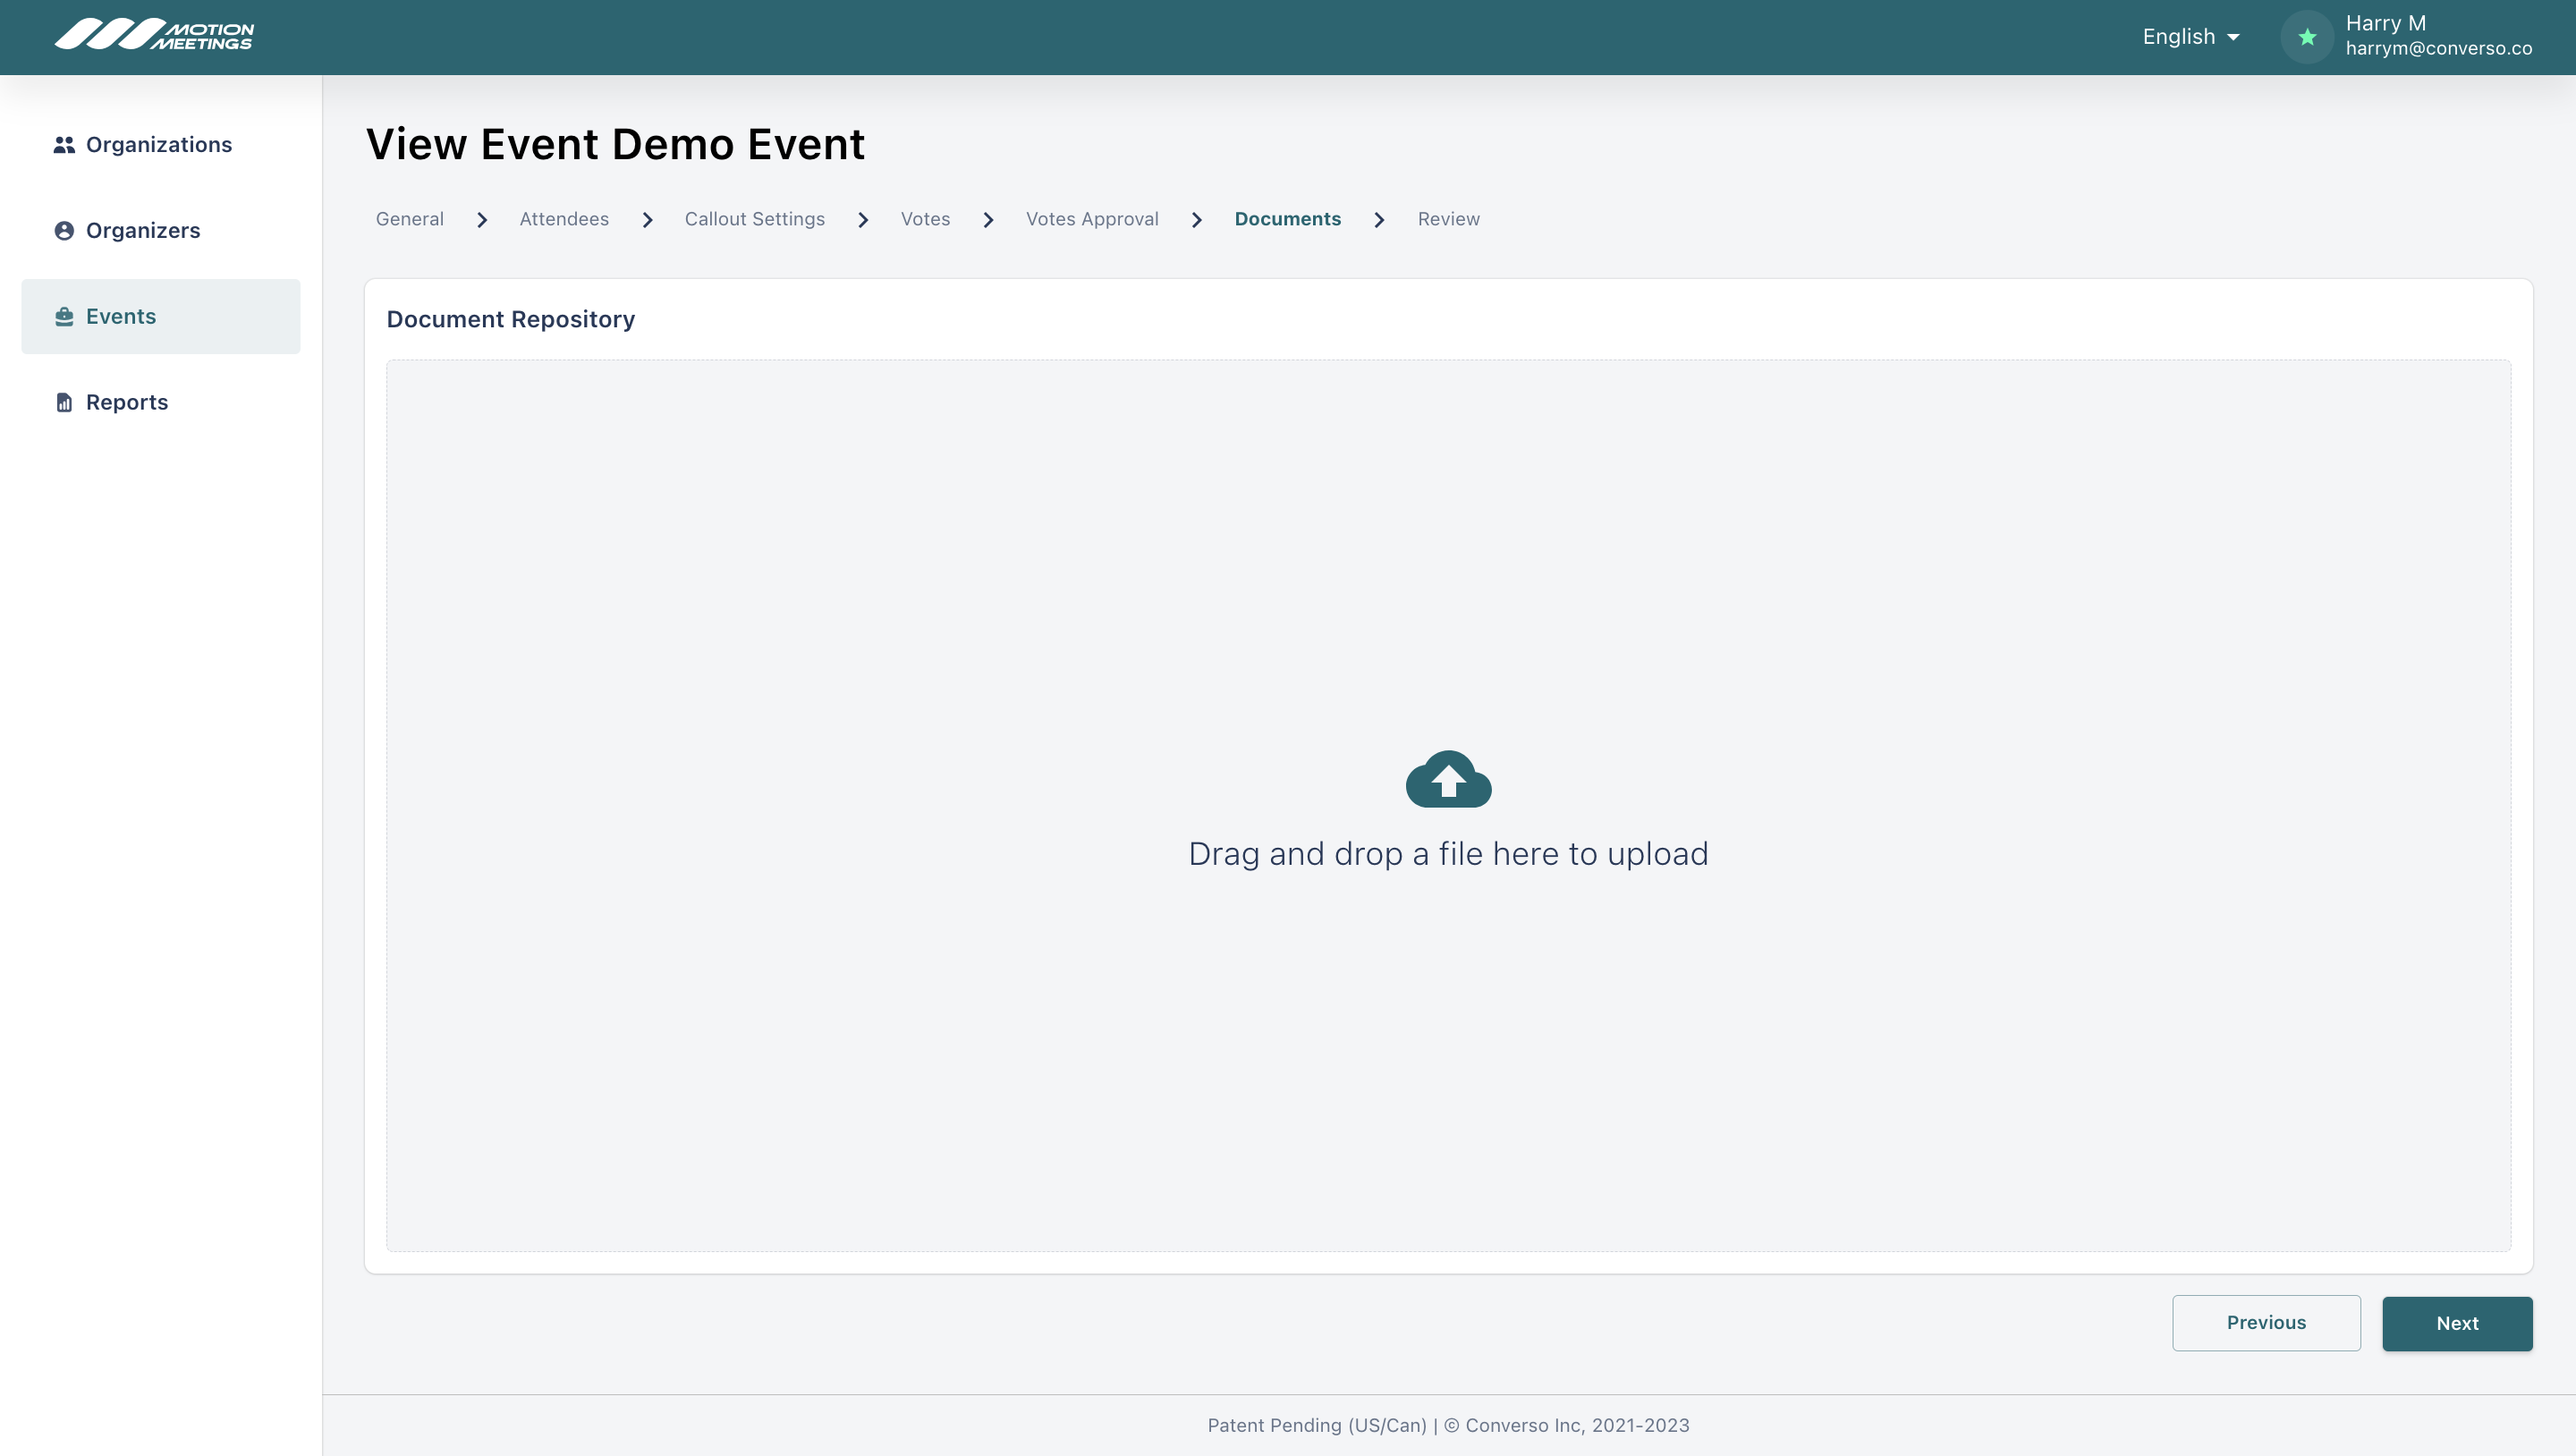
Click Next.
Review
Here you can review all of your event details. To send out the meeting invitation emails, click "Activate Now". To send the meeting invitation emails later, click "Activate Later".
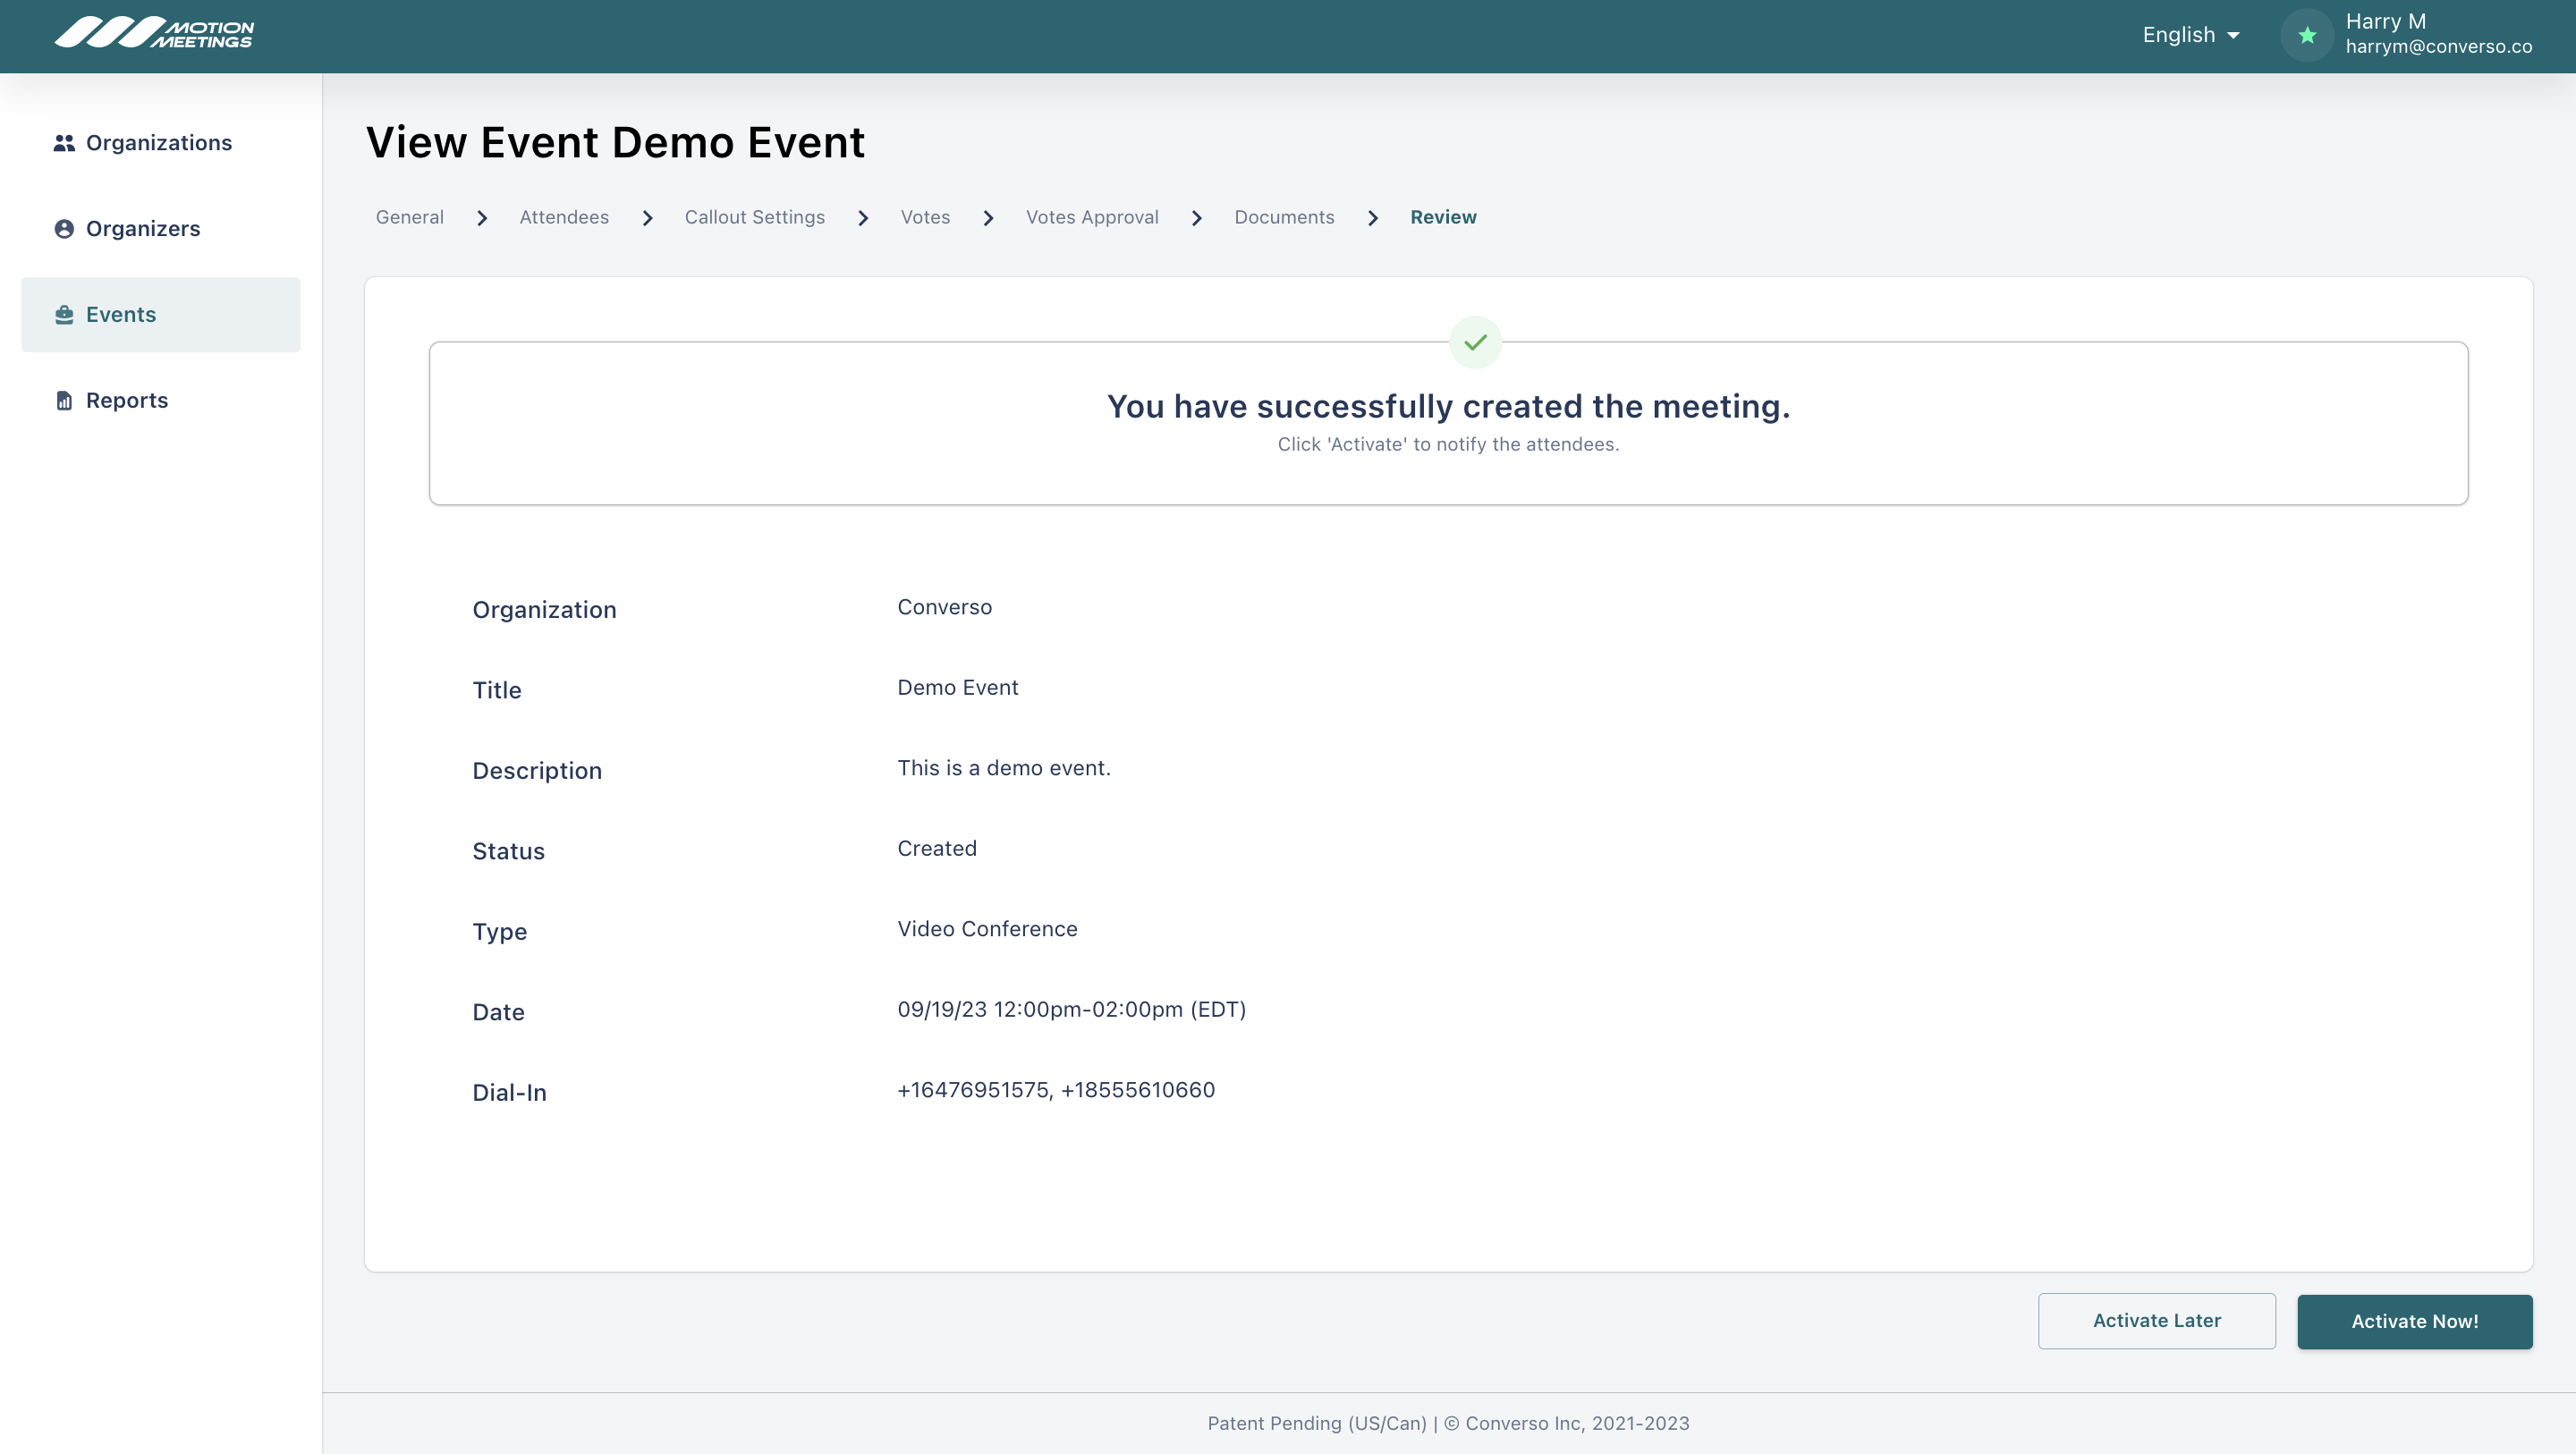
Congratulations! You have set-up your meeting!

